How to Start a Keurig Coffee Machine: Startup Instructions
Keurig coffee machines are popular for their convenience and ease of use. They offer a wide range of models designed to suit different preferences and brewing needs.
Starting your Keurig coffee machine correctly is crucial for ensuring consistent brewing quality and maintaining the longevity of your appliance. By following the startup instructions meticulously, you can enjoy delicious coffee with every brew.
Understanding Your Keurig Coffee Machine
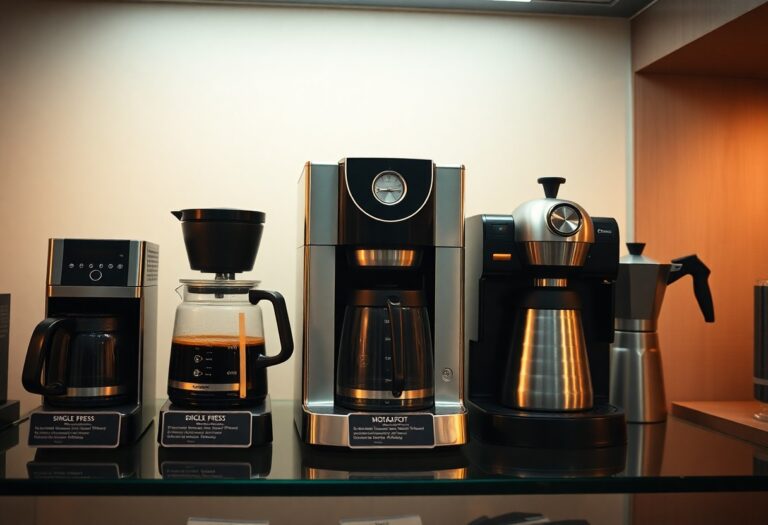
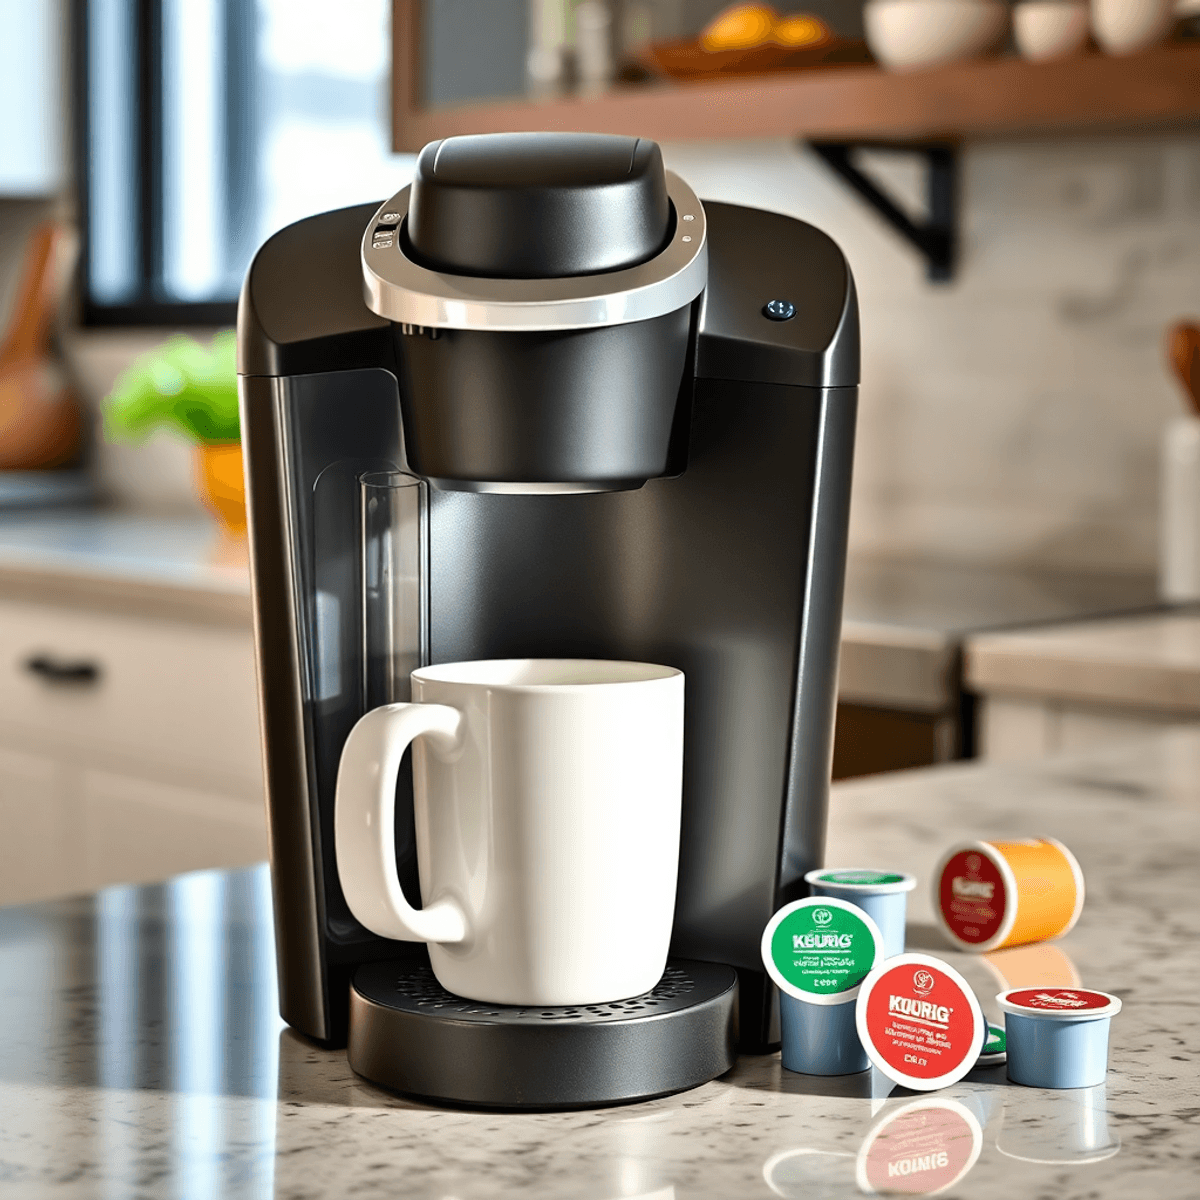
Keurig offers a variety of machine models designed to suit different brewing needs and preferences. Popular models include the Keurig K-Classic, K-Elite, K-Slim, and K-Duo. Each model comes with unique features such as multiple cup size options, strong brew settings, or compatibility with ground coffee in addition to K-Cup pods.
Model-Specific Startup Instructions
Startup instructions can vary slightly depending on the model you own. For example:
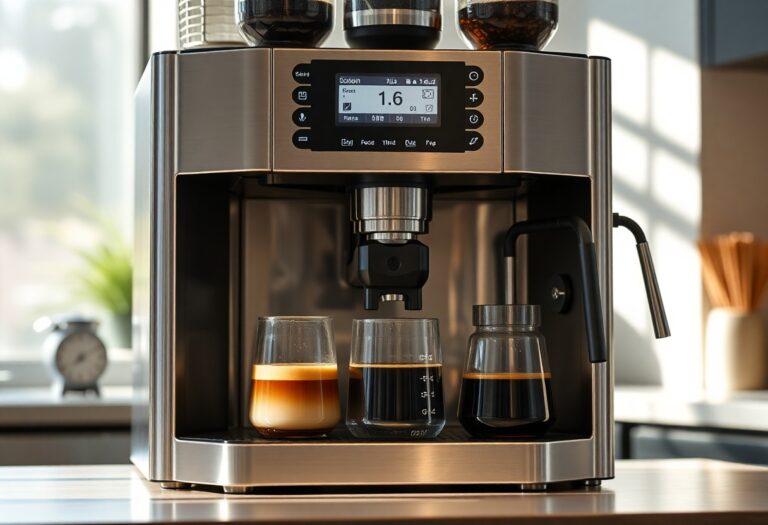
- Some models have touchscreen displays for selecting brew size and strength.
- Others rely on physical buttons or dials.
- Water reservoir sizes and placements may differ.
- Certain machines include an auto-off feature that activates after inactivity.
These variations influence how you remove packaging, fill water reservoirs, or initiate the heating process. Paying attention to your specific model’s manual helps avoid common startup mistakes and ensures you operate your Keurig efficiently from the beginning. Recognizing these differences sets the foundation for a smooth brewing experience tailored to your machine’s capabilities.
General Startup Instructions for Keurig Coffee Machines
Removing Packaging and Setting Up
Starting your new Keurig coffee machine requires careful attention to removing all packaging materials. This step is critical to ensure the machine functions correctly right out of the box.
- Remove packaging carefully: Take the brewer out of the box and check for any protective plastic bags, tapes, or foam that may be securing parts during shipping.
- Inspect for loose parts: Some models include detachable components such as water reservoirs, drip trays, or pod holders. These may be wrapped separately or secured with tape.
- Remove plastic bags and tape from parts: Fully remove any coverings on removable parts like the water reservoir or drip tray before assembling them onto the machine.
- Secure loose parts properly: Attach all external components firmly to their designated spots. Loose or improperly installed parts can affect brewing performance or cause leaks.
Pay special attention to areas such as:
- The water reservoir lid and base
- The K-Cup pod holder compartment
- The drip tray and mug platform
Your Keurig’s user manual often includes details on which parts need assembly after unpacking. Following these instructions will prevent common issues like water leakage or brewing errors linked to unsecured components.
This initial step lays the foundation for smooth operation as you move forward with plugging in your machine and filling the water reservoir. Proper setup eliminates mechanical obstructions during startup and ensures your Keurig is ready to deliver a great cup of coffee every time.
Plugging In and Filling Water Reservoir
Before you start brewing your first cup of coffee with the Keurig machine, it’s essential to properly set it up. Follow these steps to ensure everything is ready for use:
1. Remove Packaging
- Take out the Keurig coffee machine from its box.
- Remove any plastic bags or tape from the parts.
2. Plug into Power Outlet
Locate a power outlet near your countertop and plug in the machine securely.
3. Fill Water Reservoir
- Open the water reservoir lid.
- Fill it with fresh water up to the indicated line.
By following these steps, you’ll have your Keurig coffee machine ready to go in no time!
Turning On and Preparing for Brewing
When starting your Keurig coffee machine, follow these steps to ensure a smooth brewing process:
- Initiate the machine by turning it on: Locate the power button on your Keurig machine and press it to activate the device.
- Allow the machine to heat up before brewing: After turning on the machine, give it some time to heat up. Most Keurig machines have an indicator light that changes color or flashes when it’s ready to brew. This heating process ensures that your coffee will be brewed at the optimal temperature for the best flavor extraction.
By following these simple steps, you’ll be one step closer to enjoying a fresh cup of coffee from your Keurig machine.
Brewing Your First Cup of Coffee with a Keurig Machine
Placing Mug and Inserting K-Cup Pod Securely
Start by placing your mug firmly on the drip tray beneath the coffee outlet. Make sure the mug is centered to avoid spills during brewing.
Next, lift the handle on the front of the machine to open the K-Cup pod holder. This action exposes the compartment where you will insert your coffee pod. Select your preferred K-Cup pod—there are many varieties available depending on your taste preferences.
Insert the K-Cup pod into the holder with the foil side facing up. Ensure it sits flat and snug within the compartment. Lower the handle carefully until it closes securely; it should lock into place without resistance or gaps.
Proper insertion is critical for a successful brew cycle. If the pod is not seated correctly or the handle isn’t fully lowered, you may encounter errors such as leaks, incomplete brewing, or machine warnings.
Following these steps helps you avoid common startup issues and prepares your Keurig for smooth operation.
Selecting Cup Size and Starting Brew Process with Your Keurig Machine
After you place your mug on the drip tray and insert the K-Cup pod securely by lifting the handle and closing it with the pod inside, it’s time to customize your brew. Most Keurig machines offer several cup size options—commonly small, medium, and large. You can choose the size that fits your preference or mug capacity.
- Choose desired cup size by pressing the corresponding button on the control panel.
- Press the brew button to initiate the brewing process.
The machine will use the selected settings to deliver coffee tailored to your taste. This step completes setting up the cup for brewing using a Keurig machine, ensuring you get the perfect amount of coffee every time.
Additional Tips for Starting Your Keurig Machine Successfully
- Be Patient for the Machine to Signal Readiness: Wait for the indicator light to signal that the machine is heated up and ready to brew. Rushing this step can affect the quality of your coffee.
- Don’t Insert a K-Cup Pod Prematurely: Avoid inserting a K-Cup pod before the machine prompts you to do so. This can prevent any mishaps or issues during the brewing process and ensure a smooth operation.
By following these additional tips, you can ensure a successful start to your Keurig machine and enjoy a delicious cup of coffee every time.
Conclusion
To start using your Keurig machine, make sure to:
- Remove all packaging materials
- Fill the water reservoir
- Turn on the machine and wait for it to heat up
- Place a mug and insert a K-Cup pod
- Select your desired cup size and start brewing
Following these steps is essential for the best performance of your Keurig machine and to enjoy great coffee every time.
By carefully following these instructions, you’ll create the perfect environment for a delightful coffee experience with your new Keurig appliance.