How to Prime a Keurig Coffee Machine – Setup Instructions
This process is vital for ensuring your Keurig coffee machine functions effectively and brews delicious coffee. If your machine displays a “Prime” message, it may indicate that water isn’t flowing correctly, which could affect your morning routine. In this guide, you will learn step-by-step instructions to properly prime your machine and resolve any brewing issues. For further assistance, consider checking out this Keurig Says Prime? How to Fix & Brew – Expert Q&A Guide.

Key Takeaways:
- Before using your Keurig for the first time, ensure that it is properly plugged in and that the water reservoir is filled with fresh water.
- Run a water-only brew cycle without a K-Cup to cleanse the internal parts and ensure the machine is functioning correctly.
- Regularly descale your Keurig according to the manufacturer’s instructions to maintain optimal performance and extend the life of the machine.
- Follow the specific setup instructions provided in your Keurig’s manual, as different models may have unique features or requirements.
- Keep the machine clean by regularly emptying the drip tray and washing removable parts, which will enhance the brewing experience.
The Importance of Priming Your Keurig
Priming your Keurig ensures optimal brewing performance and longevity of the machine. A well-primed unit not only provides a better-tasting cup of coffee but also minimizes issues like clogging and malfunctions. Skipping this step can lead to inconsistent brewing or even damage to the machine. If you’re looking for more detailed steps, check out 3 Ways to Prime a Keurig Coffee Maker.
Enhancing Flavor and Freshness
When you prime your Keurig, you help eliminate any residual water or stale coffee that might affect the taste. By flushing the system out, you ensure that the fresh coffee grounds interact solely with clean, fresh water, resulting in a more flavorful and aromatic cup. Each brew will taste as it should, free from any past coffee remnants that can negatively impact its profile.
Preventing Clogging and Malfunctions
Priming the system can prevent issues like clogs and misfires that can disrupt your brewing experience. Water lines can become blocked with mineral deposits, especially when the machine isn’t used regularly. By priming it, you clear these potential blockages, ensuring smooth operation. It’s necessary to keep the water pathway clear so that each cup brews as intended without interruption or delay.
Clogged coffee machines can lead to erroneous brewing cycles or even complete operational failure. Regular priming guarantees that your machine’s internal components remain clean and functional, thereby extending its lifespan. Performing this task every few weeks or when returning from a long break without usage will help maintain optimal performance. This proactive approach not only leads to better coffee but also prevents costly repairs or replacements down the line.
Gathering Your Essential Supplies
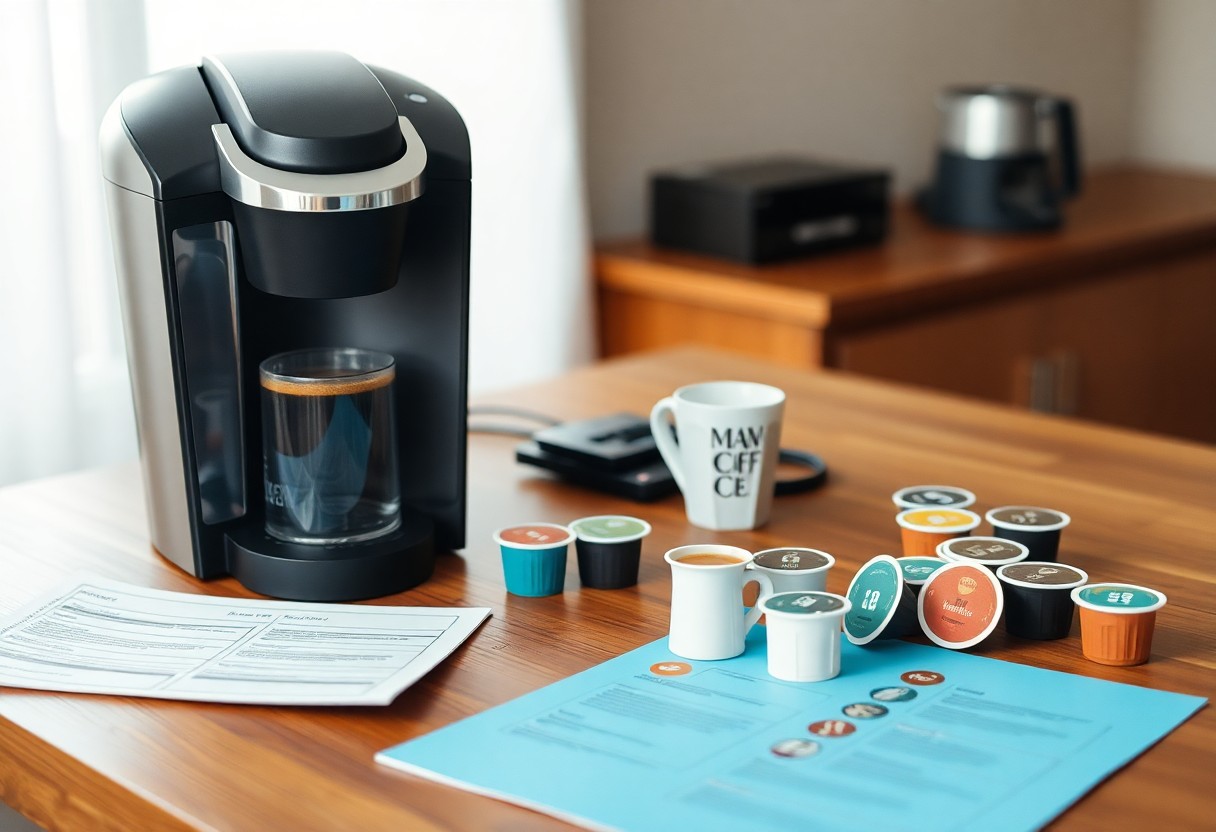
Preparing to prime your Keurig coffee machine requires a few necessary items. Ensure you have fresh, filtered water, your favorite K-Cup, and a clean, flat workspace ready for setup. This organization will streamline the process and allow you to focus on getting your machine running smoothly.
Identifying Necessary Items
Your first step is to make sure you have all the necessary equipment at hand. This includes a K-Cup of your choice, fresh water, and a compatible pod holder. Additionally, a soft cloth or sponge for cleaning can be handy, especially if your machine has sat unused for a while.
Ensuring Proper Environment for Setup
Setting up your Keurig in a suitable environment significantly enhances the priming experience. Make sure you select a stable surface, preferably near an outlet to avoid using long cords. An uncluttered kitchen counter allows for easy access to the machine, making it simple to fill the water reservoir and manage discarded pods efficiently.
Preferably, the temperature of the room should be moderate, between 60°F and 90°F, as extreme temperatures can impact the performance of your machine. Keep the area well-lit to spot any potential leaks or issues during the setup and priming process. Having everything organized encourages efficiency, allowing you to enjoy your coffee in a timely manner while avoiding any unforeseen complications with your Keurig machine.
The Step-by-Step Priming Process
| Step | Description |
|---|---|
| Initial Preparation of the Machine | Unpack your Keurig, remove any packaging, and ensure all components are clean. |
| Executing the Priming Sequence | Fill the water reservoir and follow the priming instructions specific to your model. |
| Troubleshooting Common Issues | Address any issues that arise during priming, such as error messages or low water flow. |
Initial Preparation of the Machine
Start by unpacking your Keurig coffee machine and inspecting it for any signs of damage. Place it on a sturdy surface away from direct sunlight, ensuring enough space for proper ventilation. Remove any packaging material from the water reservoir and drip tray, and wash these components with warm, soapy water. Rinse and dry them thoroughly, as this step sets the foundation for a successful priming process.
Executing the Priming Sequence
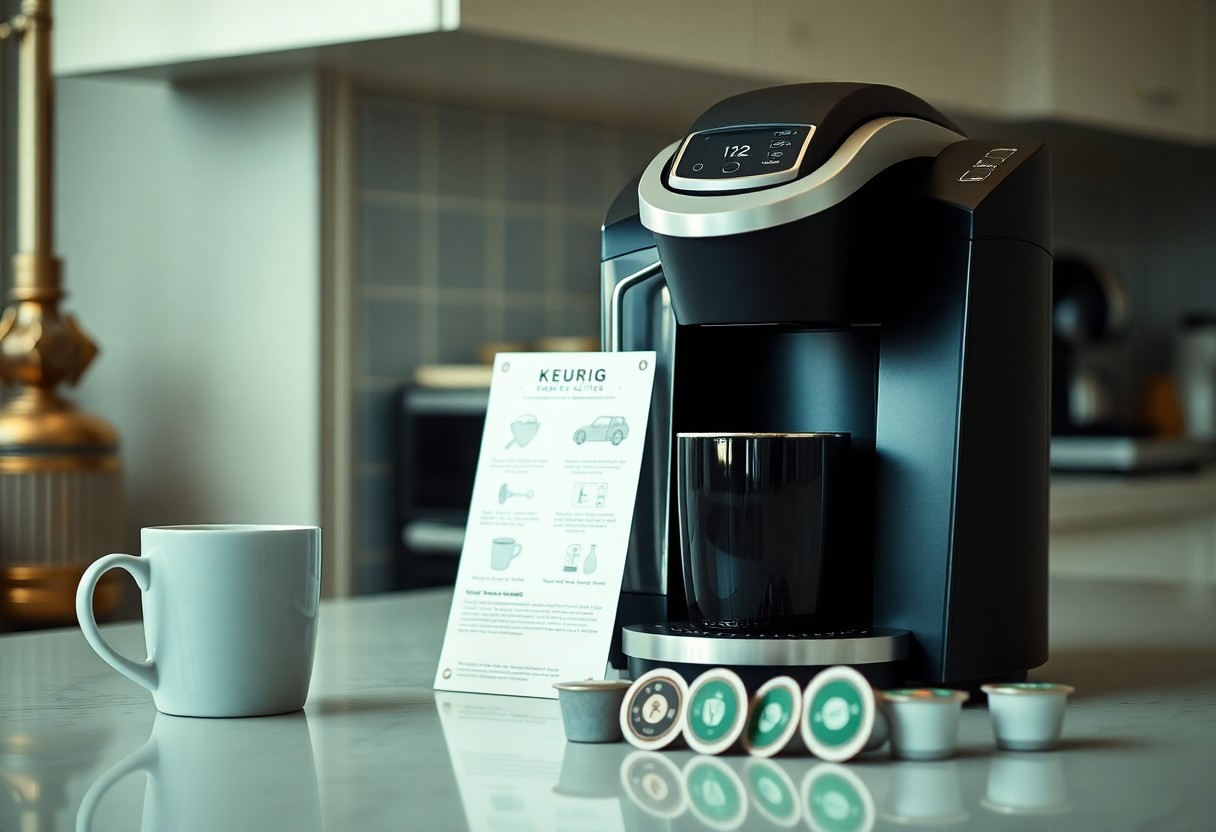
To execute the priming sequence, fill the water reservoir with fresh, filtered water up to the maximum fill line. Turn on the machine and wait for it to heat up. Once the indicator lights confirm it’s ready, place a cup on the drip tray and initiate a brew cycle without inserting a K-Cup. This will draw water through the system, effectively priming the internal components.
If your specific model has a unique priming procedure, consult the user manual or manufacturer’s website for detailed instructions. Some Keurig models may require you to press specific buttons in sequence or perform a special cycle to ensure all air is expelled from the lines. Performing these actions correctly ensures water flows freely, maximizing your brewing experience.
Troubleshooting Common Issues
During the priming process, issues may arise, such as error codes or weak water flow. If you encounter an issue, start by checking that the water reservoir is filled to the required level and that it is seated correctly in the machine. Make sure the machine is plugged in and properly turned on to avoid any operational hiccups.
Commonly, air trapped in the water lines may prevent effective brewing. If water isn’t flowing, try running the brewing cycle multiple times without a K-Cup until you see a steady stream of water. If problems persist, inspect for clogs or blockages within the machine and refer to the user manual for specific troubleshooting guides designed for your model. Keeping a close eye on these details can save you from frustration and ensure a smooth coffee brewing experience.

Post-Priming Maintenance Tips
Maintaining the functionality of your Keurig coffee machine post-priming is vital for consistent performance. Regularly inspect the water reservoir for any clogs, clean the needle punctures, and ensure the machine remains free of mineral deposits. Following these practices will allow your machine to brew the best coffee possible. Here’s a checklist:
- Use only filtered water to prevent buildup.
- Clean the reservoir and brewing components weekly.
- Run a water-only cycle monthly to flush out residues.
Thou should remain diligent with these maintenance tasks to enjoy your coffee experience fully.
Optimal Cleaning Routines
A cleaning routine should be established to keep your Keurig machine running smoothly. Regularly descale your coffee machine with a suitable descaling solution every three to six months, depending on water hardness. Additionally, wipe down the exterior and perform an interior clean of the drip tray, needle, and water reservoir. This will prevent any unwanted flavors from building up in the system and affecting your coffee taste.
Regular Check-Ups for Longevity
Routine check-ups ensure that your Keurig coffee machine functions optimally for years. Inspect the power cord and plugs for wear and tear to prevent electrical issues. Ensure the machine sits on a stable surface and the water tank is correctly seated. Regularly evaluate the performance by checking for any taste inconsistencies or brewing errors.
Longevity of your Keurig largely depends on how proactive you are with its upkeep. Conduct regular inspections, looking for any signs of wear, leaks, or residue buildup. Keeping an eye on the performance can help you address issues before they escalate. Noticing if the water isn’t heating properly or the brew cycle seems prolonged can also be beneficial. By implementing these simple yet effective check-ups, you can extend your coffee machine’s lifespan significantly, ensuring countless cups of perfect coffee in the future.
Elevating Your Brewing Experience
Enhancing your coffee experience with a Keurig is about more than just convenience; it’s about personalizing each cup to fit your unique tastes. Balancing flavor and strength can transform your daily brew from mundane to exceptional. Utilizing the distinct features of your machine, you can explore a variety of options that align with your preferences, ensuring that every sip is a delightful moment tailored just for you.
Customizing Brew Settings
Customizing your brew settings allows you to control the size and strength of your coffee, making it simple to achieve the perfect cup every time. By selecting from various cup sizes and brew strengths, you can experiment with different combinations. A medium strength brew in an 8-ounce cup will taste different than a strong brew in a 10-ounce format, giving you the flexibility to find what suits your palate best.
Exploring Flavor Options and Accessories
Flavor options and accessories can significantly enhance your coffee experience. From seasonal brew blends to flavored coffee pods, the possibilities are endless. Adding accessories like a reusable K-Cup can also allow you to experiment with your favorite ground coffee, giving you full control of the ingredients for a custom brew.
Diving deeper into flavor options, you can find a variety of coffee pods that offer enticing flavors such as caramel, vanilla, and mocha, which can be enjoyed hot or iced. Some brands even provide limited-edition seasonal flavors that keep your coffee routine fresh and exciting. Accessories like milk frothers or flavored syrups can elevate your beverages even further, transforming your standard coffee into café-quality lattes, cappuccinos, or flavored icy drinks at home. By taking advantage of these options, you can personalize each brewing session, making it a true reflection of your taste preferences.
To wrap up
Upon reflecting, priming your Keurig coffee machine is a straightforward process that ensures optimal brewing conditions. By following the setup instructions closely—filling the water reservoir, running a cleansing brew, and making sure the machine is clean—you allow your machine to perform at its best. A well-prepared machine not only enhances the flavor of your coffee but also extends the life of your device. With these steps, you’ll be ready to enjoy delicious, freshly brewed coffee anytime you desire.
FAQ
Q: What is the first step to prime my Keurig coffee machine?
A: The first step is to fill the water reservoir with fresh, cold water. Before turning on the machine, ensure that the reservoir is securely attached to the base of the unit. This will allow the machine to draw water when it is primed.
Q: Do I need to use a specific type of water for my Keurig?
A: It is recommended to use filtered or bottled water for the best taste and to prevent mineral buildup in your machine. Tap water can lead to deposits that may affect the performance over time. Always check that the water is fresh and free from impurities.
Q: How do I begin the priming process on my Keurig machine?
A: To begin the priming process, plug in your Keurig and power it on. Once the machine is ready and the water heats up, select and brew a cup without inserting a K-Cup. This allows the machine to draw water from the reservoir through the internal system, thereby priming it.
Q: What if no water comes out during the priming process?
A: If no water comes out, check a few things: ensure that the water reservoir is filled, correctly seated, and that there are no kinks in the water line. Also, check the needle for any clogs. If necessary, run a water-only cycle a few times to help clear any blockages.
Q: How often do I need to prime my Keurig machine?
A: Priming is typically only necessary after heavy use or when the machine hasn’t been used for an extended period. It’s a good practice to periodically check the function of your machine and clear any air bubbles if brewing inconsistently. Additionally, if you notice any interruptions in the water flow, it might be time to prime again.


