How to Descale a Keurig Coffee Machine: Complete Step-by-Step Guide
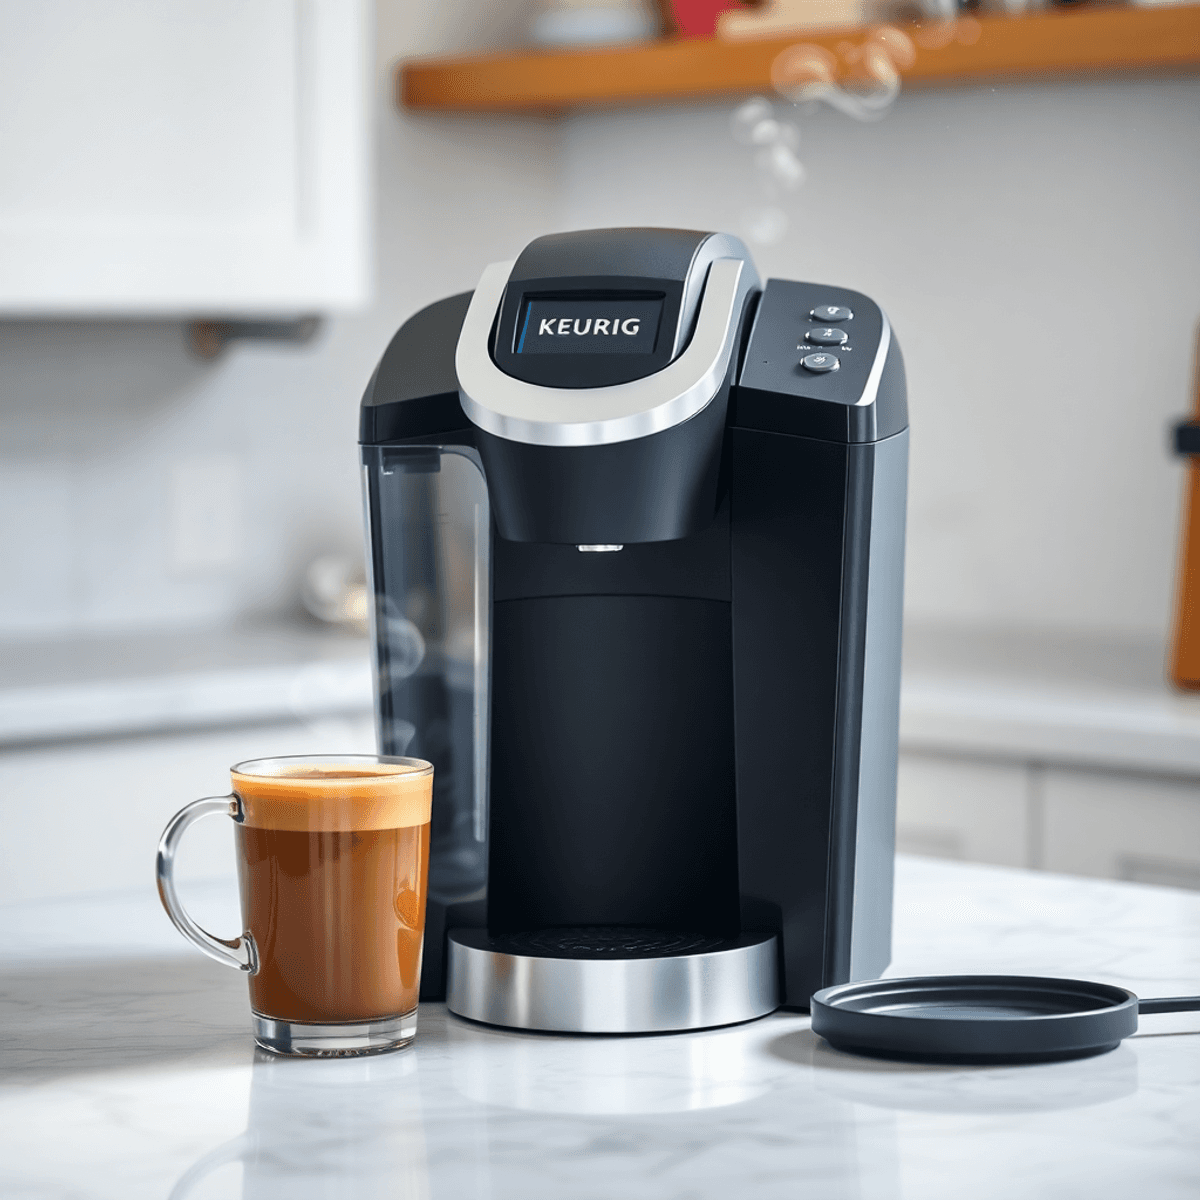
Keurig coffee machines are popular for their convenience and ability to brew a single cup of coffee quickly. However, like any other appliance, they require regular maintenance to function at their best. One crucial aspect of this maintenance is descaling, which helps remove mineral buildup that can affect the machine’s performance.
In this guide, we will provide you with a complete step-by-step process on how to descale your Keurig coffee machine effectively, ensuring that it continues to brew delicious coffee for years to come.
Understanding the Need for Descaling
Mineral buildup can significantly impact the performance of your Keurig machine and alter the taste of your brewed coffee. Over time, minerals from water, such as calcium and lime, accumulate inside the machine, potentially leading to clogs in various components like the water lines and heating element. These obstructions can result in slower brewing times, incomplete brewing cycles, or even machine malfunctions.
In addition to affecting the machine’s functionality, mineral buildup can also affect the flavor of your coffee. The trapped minerals can impart a bitter or metallic taste to your brew, diminishing the quality of your coffee experience. This alteration in taste is often a clear indicator that descaling is necessary to restore your Keurig’s optimal performance and ensure a delicious cup of coffee every time.
Descaling is a crucial aspect of regular maintenance for Keurig machines to prevent these issues from occurring. By descaling your machine at recommended intervals, you can effectively remove mineral deposits and maintain the integrity of internal components. This proactive approach not only enhances the longevity of your Keurig but also preserves the quality and consistency of your coffee.
By understanding the impact of mineral buildup on your Keurig’s performance and coffee quality, you can appreciate the significance of incorporating descaling into your routine maintenance practices.
Step 1: Gather Your Supplies
Before you begin the descaling process, it’s important to gather all the necessary supplies. Here’s what you’ll need:
- Keurig Descaling Solution: This solution is specifically designed for Keurig machines and is highly effective in removing mineral buildup. You can find it at most retailers or online.
- White Vinegar (Alternative Option): If you prefer a natural alternative, you can use white vinegar instead of the descaling solution. However, keep in mind that vinegar may not be as effective as the commercial solution.
- New Water Filter: After descaling, it’s recommended to replace your water filter for optimal performance. Make sure you have a new water filter ready for installation.
Having these supplies on hand will ensure a smooth and successful descaling process for your Keurig machine.
Step 2: Prepare Your Machine
Before starting the descaling process, it’s important to follow these preparatory steps as part of your Keurig cleaning routine for safety and effectiveness:
- Turn off and unplug your Keurig machine. This prevents any electrical accidents while you work on it.
- Remove any K-Cup pods from the brewer. Leaving pods inside can cause blockages or damage during descaling.
- Empty the water reservoir completely. A clean slate ensures the descaling solution will work efficiently without dilution from leftover water.
These initial steps set the stage for a successful descaling session, keeping your machine safe and ready for the next phase.
Step 3: Prepare the Descaling Solution
To effectively descale your Keurig, it’s important to prepare the descaling solution correctly. Follow these guidelines for proper dilution:
- If you’re using a commercial descaling solution, refer to the manufacturer’s instructions for dilution.
- If you’re using vinegar as a natural alternative, mix equal parts vinegar and water (50/50 ratio) for the descaling solution.
Proper dilution is crucial as it ensures effective descaling without causing any damage to the machine components. The right concentration will help break down mineral deposits and maintain the performance of your Keurig.
Remember, the descaling solution needs to be evenly mixed with water to ensure thorough cleaning of the internal components. You might also consider incorporating some essential oils for cleaning into your routine for added freshness and effectiveness.
Step 4: Start the Descaling Cycle
To start the descaling cycle on your specific Keurig model, follow these steps:
- Make sure there is no K-Cup pod in the brewer.
- Choose a brewing size that will allow the descaling solution to run through the machine effectively without any interference.
This step is crucial to kickstart the cleaning process and remove mineral buildup within the Keurig system. Following these instructions will help maintain your machine’s performance and ensure the continued production of delicious coffee.
Step 5: Rinse and Repeat
The descaling rinse process is critical to prevent any lingering taste of vinegar or descaling solution in your coffee. After completing one full cycle with the descaling solution, empty any remaining liquid from the water reservoir.
Refill the reservoir with fresh, clean water. Run multiple brew cycles—without inserting a K-Cup pod—to flush out all residues inside the machine. Aim for at least 3 to 5 full reservoir cycles or until you no longer detect any vinegar or chemical smell during brewing.
Check the water reservoir and drip tray frequently during rinsing to ensure no buildup remains. This thorough rinse guarantees that your Keurig will return to brewing fresh, clean coffee without off-flavors caused by leftover descaler.
Following these steps in How to Descale a Keurig Coffee Machine: Complete Step-by-Step Guide ensures your machine is completely free of mineral deposits and ready for daily use again.
Step 6: Clean K-Cup Needles for Optimal Brewing Performance
To maintain optimal brewing performance, it’s essential to clean the entrance and exit needles of the K-Cup holder regularly. These needles can get clogged with coffee grounds and residue over time, affecting water flow and brew quality.
Instructions for Cleaning K-Cup Needles:
- Unplug the Keurig: Ensure the machine is turned off and unplugged before starting the cleaning process to avoid any accidents.
- Remove the K-Cup Holder: Take out the K-Cup holder from the machine carefully to access the needles for cleaning.
- Inspect the Needles: Check both the entrance and exit needles for any visible clogs or debris that might be obstructing water flow.
- Use a Cleaning Tool: Take a paperclip or a specialized needle cleaning tool designed for Keurig machines to gently clear any blockages in the needles.
- Clean Thoroughly: Carefully insert the tool into each needle and move it around to dislodge any buildup. Be gentle to avoid damaging the needles.
- Reassemble and Test: Once you’ve cleaned both needles, reinsert the K-Cup holder back into the machine securely. Run a brewing cycle with just water to ensure proper water flow without any obstructions.
Regularly cleaning the K-Cup needles will help maintain consistent brewing performance and ensure that your Keurig continues to deliver delicious coffee with every cup.
Step 7: Replace Water Filter for Fresh-Tasting Coffee
Replacing the water filter in your Keurig machine is essential for keeping your coffee tasting great. Tap water often has impurities like chlorine, calcium, and other minerals that can ruin the flavor and even cause buildup in your machine. By using a clean and working water filter, you can minimize these elements and make sure every cup of coffee is fresh and pure.
Using the right kind of water is also crucial for achieving the perfect cup. You might want to explore this guide to the best water for coffee which provides valuable insights into this aspect.
Water filter replacement process:
- Remove the old filter from the water reservoir. Usually, this involves taking out the water reservoir from the machine and lifting out the filter holder.
- Soak the new water filter in fresh water for about 5 minutes before installation. This step activates the filter and prepares it to trap impurities effectively.
- Insert the new filter into the holder, then place it back into the reservoir securely.
- Fill the reservoir with fresh water and reattach it to your Keurig machine.
It is advisable to replace the water filter every two to three months if you use it daily or whenever you notice a change in the taste of your coffee or brewing performance. Regularly replacing the filter prevents unwanted flavors caused by impurities and helps prolong the life of your machine by reducing mineral buildup inside.
A properly maintained water filter improves consistency in brewing while safeguarding internal parts from damage caused by hard water minerals. This easy step ensures better-tasting coffee with every brew cycle.
In addition to changing your water filter regularly, it’s worth noting that using a good quality water filter can significantly improve your espresso machine’s performance as well.
Additional Maintenance Tips for Your Keurig Machine
Keeping your Keurig in peak condition requires more than just occasional descaling. Establishing a routine helps maintain optimal performance and ensures every cup of coffee tastes great.
- Set maintenance reminders: Use your phone’s calendar or a digital assistant to schedule alerts every 3 to 6 months. These reminders cover descaling, water filter replacement, and general cleaning tasks.
- Regular cleaning: Wipe down the exterior, clean the drip tray, and wash removable parts weekly if you use the machine daily. This prevents buildup that can affect brewing quality.
- Water quality matters: Always use fresh, cold water in the reservoir. Consider filtered water to reduce mineral deposits and extend time between descales.
- Check for clogs: Periodically inspect and clean the K-Cup needles to avoid blockages that impact water flow and flavor extraction.
Incorporating these simple steps from How to Descale a Keurig Coffee Machine: Complete Step-by-Step Guide will keep your brewer operating smoothly and your coffee tasting consistently fresh all year round. For a comprehensive understanding of the descaling process, including specific guidelines, refer to this detailed resource.
Conclusion
Taking care of your Keurig coffee machine is crucial if you want to enjoy delicious coffee every time you use it. If you skip regular cleaning and descaling, you might end up with clogged parts, weird-tasting coffee, and a shorter lifespan for your machine.
Use this Keurig coffee machine maintenance summary from the How to Descale a Keurig Coffee Machine: Complete Step-by-Step Guide to keep your brewer in top shape:
- Follow the descaling steps every 3 to 6 months depending on use
- Clean K-Cup needles regularly
- Replace water filters on schedule
- Set calendar reminders to stay consistent
By sticking to these simple tasks, you’ll be able to enjoy fresh and flavorful coffee from your Keurig for many years ahead.
FAQs (Frequently Asked Questions)
Why is descaling my Keurig coffee machine important?
Descaling your Keurig coffee machine is crucial because mineral buildup from water can affect the machine’s performance and alter the taste of your coffee. Regular descaling prevents these issues, ensuring your machine brews delicious coffee consistently.
What supplies do I need to descale my Keurig coffee machine?
To descale your Keurig, you will need a descaling solution specifically designed for Keurig machines or white vinegar as an alternative. Additionally, have a new water filter ready to replace the old one after completing the descaling process.
How do I prepare my Keurig machine before descaling?
Before starting the descaling process, turn off and unplug your Keurig machine. Remove any K-Cup pods from the brewer and empty the water reservoir to ensure a smooth and safe cleaning cycle.
What is the step-by-step process to descale a Keurig coffee machine?
First, fill the water reservoir with a properly diluted descaling solution or vinegar. Then start the descaling cycle by selecting a brewing size without inserting a K-Cup pod. After one full cycle, rinse thoroughly by running multiple cycles with clean water until all traces of descaler are gone. Finally, clean the K-Cup needles and replace the water filter for optimal performance.
How do I clean the K-Cup needles in my Keurig machine?
Use a paperclip or a needle cleaning tool to carefully clean both the entrance and exit needles of the K-Cup holder. This ensures proper water flow during brewing and helps maintain optimal brewing performance.
How often should I descale and maintain my Keurig coffee machine?
It’s recommended to set calendar reminders every few months to perform descaling and regular cleaning tasks. Consistent maintenance keeps your Keurig in top shape year-round, ensuring fresh-tasting coffee with every brew.