How to Calc Clean a Philips Coffee Machine – Descaling Process
Many people overlook the importance of descaling their coffee machines regularly, leading to decreased performance and a bitter taste in your brew. By undertaking this simple yet effective process, you can extend the lifespan of your Philips coffee machine and ensure every cup you pour tastes exceptional. In this guide, you will learn the step-by-step procedure to calc clean your machine safely, using a suitable descaling solution. Give your coffee the care it deserves, and enjoy delicious brews time after time!
Key Takeaways:
- Always check the manufacturer’s instructions for the specific descaling procedure for your Philips coffee machine.
- Use a recommended descaling solution to ensure effective cleaning and prevent damage to your machine.
- Regularly descale your machine to maintain optimal performance and coffee quality.
- After descaling, run multiple cycles of fresh water through the machine to thoroughly rinse any remaining descaling solution.
- Keep track of your descaling schedule, considering factors like usage frequency and water hardness in your area.
Decoding the Descaling Cycle of Your Philips Coffee Machine
Understanding the descaling cycle of your Philips coffee machine enhances its lifespan and ensures optimal performance. During this cycle, the machine expels the descaling solution through its internal components, effectively removing mineral deposits. Typically, the process lasts between 15 to 30 minutes, depending on the model. Make sure to follow your specific machine’s manual for the exact steps, as this can vary. Engaging in this routine not only preserves the flavor of your coffee but also promotes consistent functionality.
Understanding the Importance of Regular Descaling
Consistent descaling brings the best out of your Philips coffee machine. By removing calcium and mineral buildup, you maintain the temperature and taste of your brews. This practice directly impacts the longevity of your device, ensuring that all components function seamlessly. Manufacturers often recommend descaling every three months or after 500 brewing cycles to keep your coffee machine in prime condition.
Recognizing Warning Signs of Calcium Buildup
Calcium buildup can significantly affect your coffee machine’s performance, making vigilance necessary. Watch for signs like a longer brewing time, coffee that tastes off, or unusual noises during operation. Your machine may also display an alert message indicating it’s time for descaling. Ignoring these signs could lead to decreased efficiency and more extensive repairs later on.
In particular, prolonged delays in brewing time often indicate unseen mineral deposits obstructing internal pathways. If you notice your coffee appearing weaker or tasting more bitter than usual, it’s likely due to these blockages disrupting the extraction process. Additionally, watch for any mechanical sounds, such as grinding or hissing, which could suggest that internal components are struggling to operate properly due to accumulated calcium. Taking prompt action when you notice these symptoms can save you from costlier fixes in the future.
Essential Tools for the Descaling Process
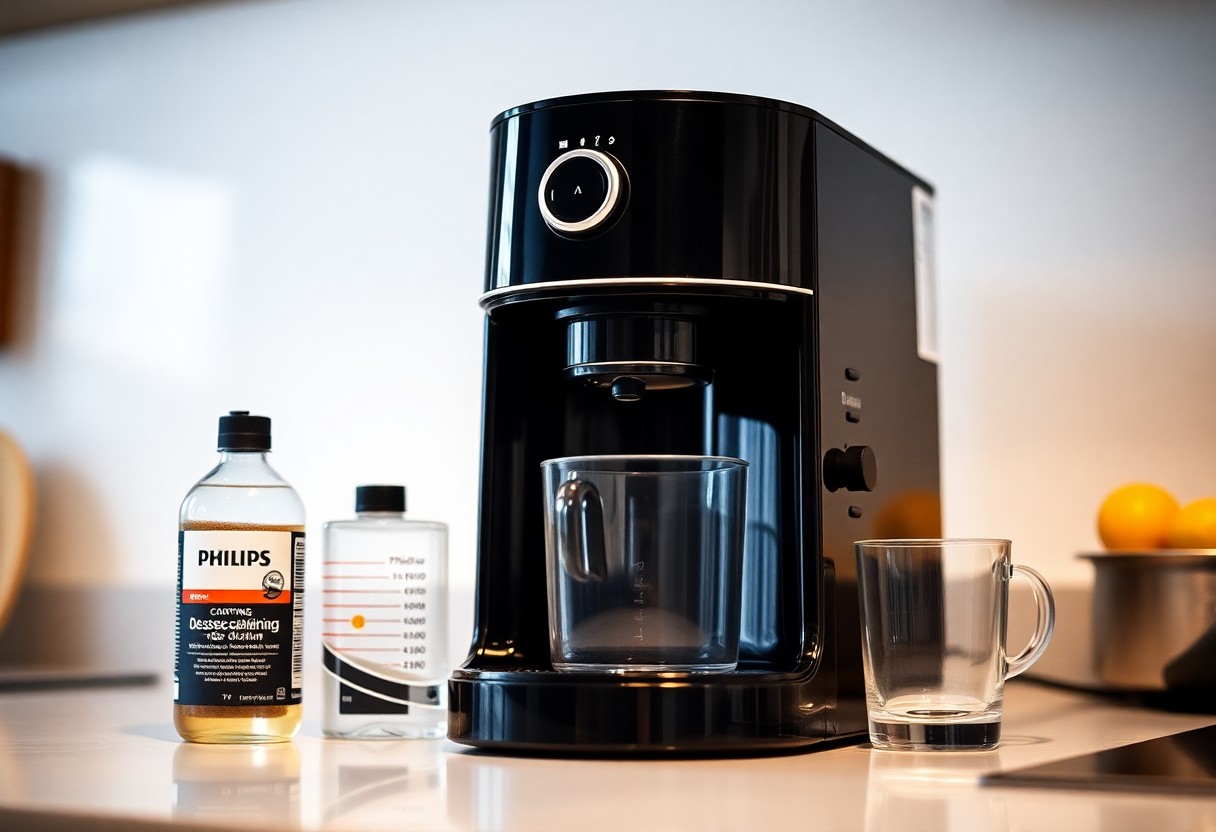
Before venturing into the descaling process of your Philips coffee machine, gather a few important tools that will make the task efficient. Proper preparation ensures that you have everything on hand for a seamless experience. As you prepare your workspace, keep in mind that having the right tools not only simplifies the process but also maximizes the effectiveness of the descaling solution.
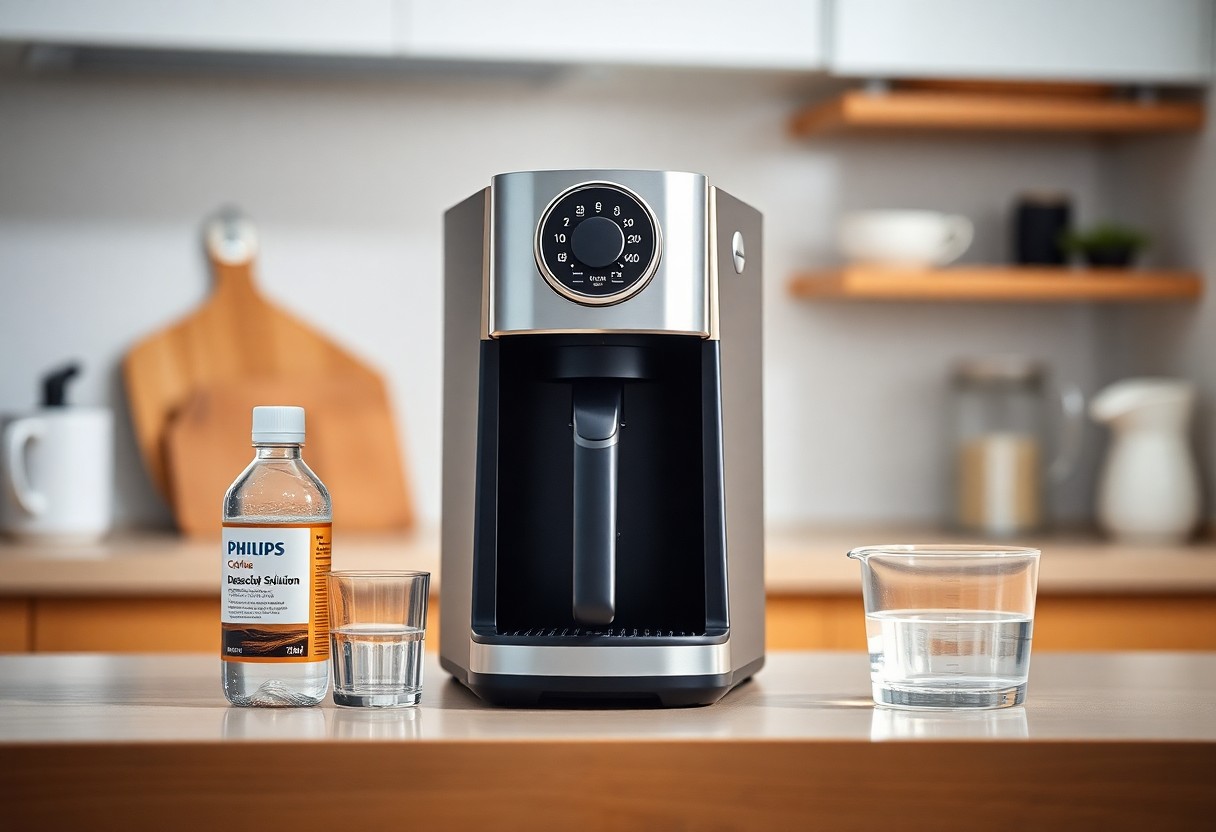
The Right Descaling Solution: What to Look For
Choosing the right descaling solution is vital for effectively removing mineral deposits. Ensure you select products specifically designed for coffee machines, as these will be safe on internal components while breaking down calcium buildup. Look for solutions that are free from harsh chemicals or acids that can cause damage, ensuring it’s compatible with your Philips model.
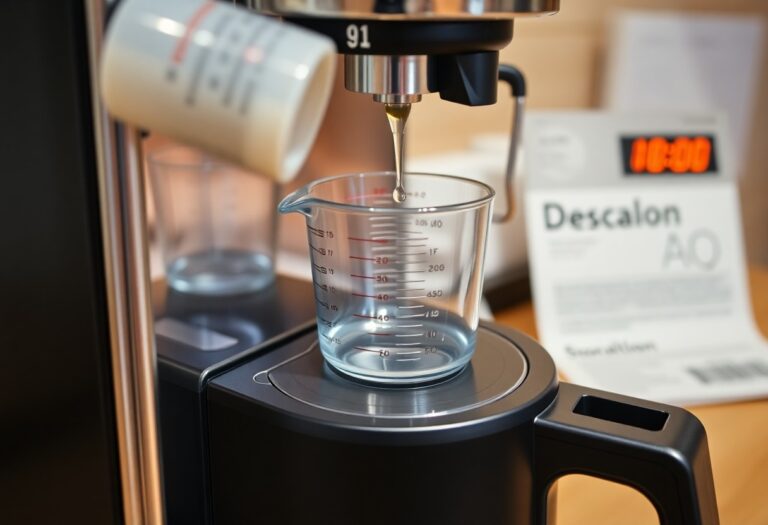
Collecting Required Equipment: Step-by-Step Checklist
A well-prepared checklist ensures that you have everything you need. Gather the following items before starting the descaling process:
Step-by-Step Checklist
| Item | Purpose |
| Descaling solution | To remove mineral buildup |
| Measuring cup | To measure the correct amount of solution |
| Water container | To catch descaling runoff |
| Cloth or sponge | For cleaning external surfaces |
Following this checklist will help you streamline the descaling process. Make sure to gather each item in advance, as having everything ready can significantly reduce the time and effort involved. Start with the descaling solution, which is critical for breaking down the minerals; a measuring cup ensures you use the right proportion according to your machine’s requirements. A water container is important for collecting runoff to prevent spills and maintain cleanliness. Lastly, having a cloth or sponge on hand enables you to wipe down surfaces, keeping your coffee machine looking pristine and functioning optimally.
Preparing Your Philips Coffee Machine for Descaling
Before entering into the descaling process, ensure your Philips coffee machine is ready. Start by switching off the machine and unplugging it from the power source. Let it cool down to avoid any burns. Gather all necessary items, including descaling solution, to make the process seamless. A well-prepared machine not only enhances your coffee experience, but it also extends the life of your equipment by allowing the descaling process to work effectively.
Cleaning the Brew Group and Water Tank
Cleaning the brew group and water tank is an integral step before descaling. Remove the brew group from the machine, rinse it under warm water, and let it air dry. Ensure your water tank is empty, and wash it with mild detergent to eliminate any residue. Keeping these components clean allows the descaling solution to work more effectively, enhancing the overall taste of your coffee.
Emptying and Prepping the Machine for Descaling
Prior to descaling, empty your Philips coffee machine completely. This involves removing any leftover coffee grounds from the grounds container and ensuring the drip tray is free of excess water.
Check that the water reservoir is devoid of any water or leftover coffee. This helps prevent dilution of the descaling solution, allowing it to work efficiently. Once everything is emptied and cleaned, reassemble the components, ensuring everything is secure. Following these steps prepares your machine for optimal cleaning, maximizing the effectiveness of the descaling process.
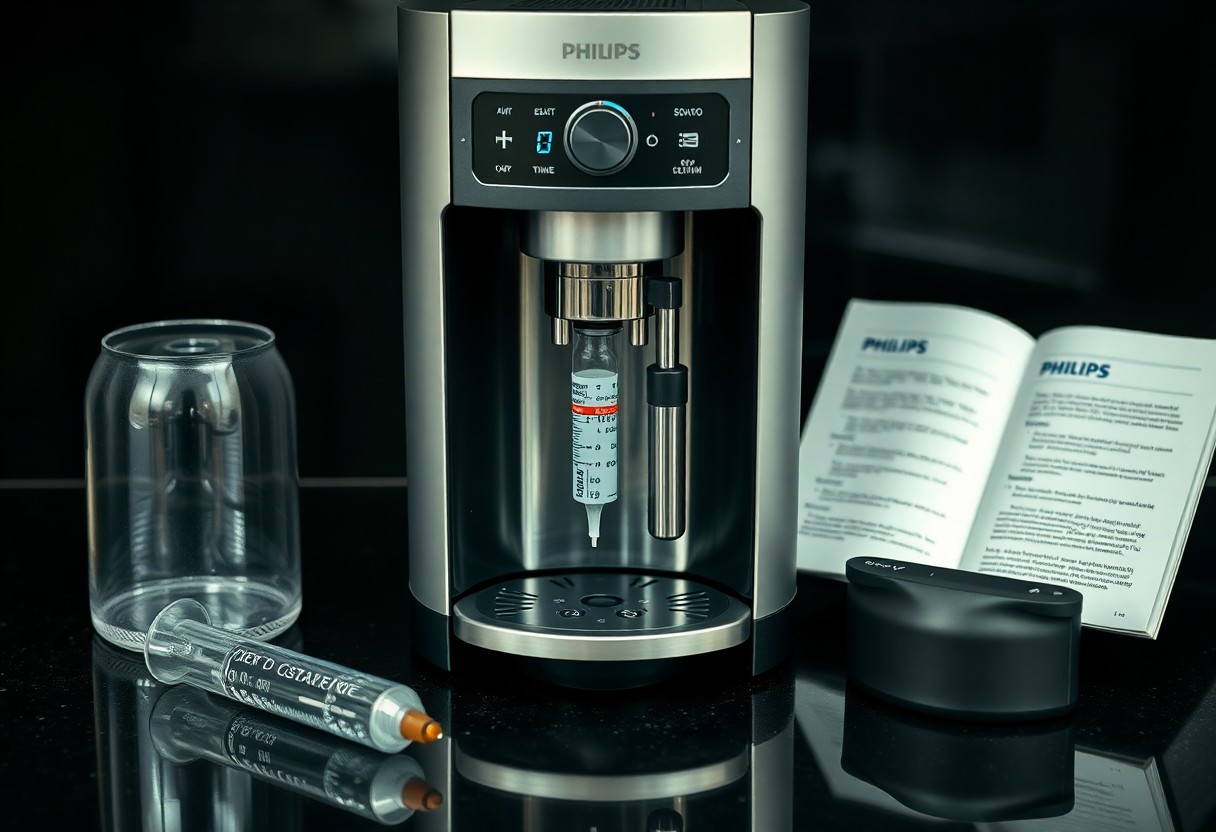
Navigating the Descaling Process: A Step-by-Step Guide
Successfully descaling your Philips coffee machine requires following a clear process. Start by gathering your materials, including the descaling solution recommended by Philips and fresh water. This How to descale my Philips Espresso Machine guide will help streamline your efforts and ensure a thorough cleanse of the system. The table below outlines key steps to follow:
| Step 1: Initiating the Descaling Mode | Turn on your machine and navigate to the descaling option in the menu. |
| Step 2: Following the On-Screen Instructions | Carefully follow the prompts displayed on your machine’s screen throughout the descaling process. |
| Step 3: Rinsing the Machine | After descaling, ensure to rinse the machine’s components thoroughly to remove any residual solution. |
Initiating the Descaling Mode
Accessing the descaling mode on your Philips coffee machine is a straightforward process. Begin by powering on your device and locating the settings menu. From there, select the option dedicated to descaling, which will typically be highlighted for easy identification. Confirm your selection to initiate the procedure, allowing your machine to guide you through the rest of the process effectively.
Following the On-Screen Instructions
During the descaling process, your coffee machine will display a series of on-screen instructions that must be followed carefully. Each step is designed to ensure that you complete the descale effectively, from mixing the solution to starting the cycle. Pay close attention to any prompts to maintain safety and efficiency throughout the process.
As you follow the on-screen instructions, you may encounter specific prompts that require you to add the descaling solution to the water reservoir or run a specific cycle. Ensure you complete all steps exactly as instructed, as this will prevent any potential damage to your machine. If you have any doubts, the manual that came with your coffee machine provides additional guidance, helping to enhance your understanding of the process.
Post-Descaling Maintenance: Ensuring Longevity
After successfully descaling your Philips coffee machine, focusing on post-descaling maintenance will help extend its lifespan and keep your coffee tasting great. Regular upkeep involves a combination of flushing the system and implementing routine care tips that prevent future build-up. By staying proactive, you ensure that your machine continues to perform optimally, enhancing your coffee brewing experience.
Flushing the System and Rinsing Techniques
Flushing the system is a vital step after descaling. Run multiple cycles of clean water through your machine to remove any lingering vinegar or descaling solution. This helps maintain the taste integrity of your coffee. Use filtered water to prevent mineral deposits from accumulating again. Doing this will lead to a cleaner and fresher brew every time you make coffee.
Routine Care Tips to Prevent Future Build-Up
Incorporating simple routine care practices can significantly reduce the likelihood of mineral build-up. Regularly replace the water in your coffee machine, clean the water tank, and run the descaling process every 2-3 months depending on usage. Consider using a water filter system to lower mineral content in your brewing water. Any consistent care will yield a more enjoyable coffee experience.
- Replace water regularly to avoid stagnation.
- Clean the water tank to eliminate biofilm.
- Descale every 2-3 months depending on usage.
- Use a water filter to reduce mineral buildup.
- Any maintenance that you perform will enhance machine longevity.
Implementing these routine care tips allows you to manage build-up effectively. For instance, washing your water tank weekly helps prevent contamination and ensures your machine operates smoothly. Setting a reminder for descaling can also keep you on track. Any attention to these details will greatly enhance your coffee machine’s performance and longevity.
- Wash the tank weekly to prevent contamination.
- Set reminders for regular descaling.
- Use only filtered water for brewing.
- Regular maintenance will yield a better coffee flavor.
- Any efforts taken will contribute to a superior coffee experience.
To wrap up
Presently, you should have a clear understanding of how to effectively descale your Philips coffee machine, ensuring it functions optimally and lasts longer. Regular descaling not only enhances your coffee’s taste but also prevents mineral buildup. For detailed instructions and tips, you can visit How to Descale Your Philips Espresso Machine. Taking these steps will enhance your coffee experience, letting you enjoy every cup to the fullest.
FAQ
Q: What materials do I need for descaling my Philips coffee machine?
A: To descale your Philips coffee machine, you will need a descaling solution specifically designed for coffee machines, or you can use a mixture of water and white vinegar. Additionally, you’ll need clean water, a container to collect the descaled liquid, and a non-abrasive cloth for cleaning.
Q: How often should I descale my Philips coffee machine?
A: It is recommended to descale your Philips coffee machine every 2-3 months, depending on the hardness of your water. If you live in an area with hard water, you may want to descale more frequently to maintain optimal performance. Some models also feature reminders to prompt you when it’s time to descale.
Q: What is the step-by-step process for descaling my Philips coffee machine?
A: The descaling process generally follows these steps:
1. Prepare the descaling solution by mixing it with water according to the instructions provided on the product.
2. Fill the water reservoir of your coffee machine with the solution.
3. Place a large container under the coffee spout to catch the descaled liquid.
4. Start the descaling program based on your machine’s instructions, which typically involves running a brew cycle.
5. Once complete, empty the container and rinse the water reservoir thoroughly before filling it with clean water.
6. Run a few cycles with clean water to ensure all residues from the descaling solution are removed.
Q: What should I do if my Philips coffee machine displays a descaling alert?
A: If your Philips coffee machine displays a descaling alert, it’s signaling that it’s time for maintenance. Follow the descaling process outlined in the user manual as mentioned above, ensuring you use the correct descaling solution. Ignoring the alert may lead to a decrease in performance and potentially damage the machine over time.
Q: Can I use other types of descaling solutions besides those recommended by Philips?
A: While it’s advisable to use descaling solutions specifically designed for Philips coffee machines, some may opt for alternative solutions like white vinegar or citric acid. However, it is important to check your machine’s manual to see if alternate solutions are acceptable, as using non-recommended products may void the warranty or damage the machine.