How to Clean a Pod Coffee Machine – Pod System Maintenance
Cleaning your pod coffee machine can significantly enhance the flavor of your brew and prolong the life of your appliance. Regular maintenance helps prevent mineral buildup and ensures your coffee tastes exactly how you want it. In this guide, you will learn imperative steps to effectively clean your machine, keeping it free from harmful bacteria while optimizing its performance. Whether you’re a coffee enthusiast or just getting started, these tips will help you achieve that perfect cup every time.
Key Takeaways:
- Regularly descale your pod coffee machine to prevent mineral buildup and maintain optimal performance.
- Clean the drip tray and water reservoir frequently to avoid any unpleasant odors and retain the quality of your coffee.
- Wipe down the exterior and buttons of the machine with a damp cloth for a neat appearance and hygiene.
- Follow the manufacturer’s guidelines for cleaning specific components, as different models may have unique requirements.
- Keep your machine unplugged and allow it to cool down before cleaning to ensure safety and prevent damage.
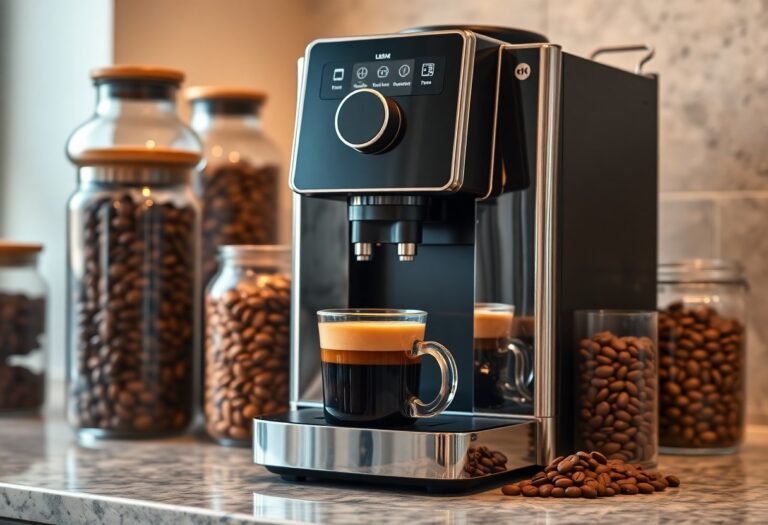
Unpacking the Anatomy of a Pod Coffee Machine
Understanding the internal workings of your pod coffee machine can make maintenance and troubleshooting more effective. Each part is designed to work together seamlessly, transforming your fresh pod into a delicious cup of coffee. Familiarizing yourself with these components can empower you to handle simple issues and keep your machine in peak condition.
Essential Components and Their Functions
Your pod coffee machine consists of several imperative components, each with a specific role. The water reservoir holds the water needed for brewing, while the heating element warms it to the ideal temperature. The brew group extracts flavor from the pod, and the pump pushes water through it. Lastly, the drip tray collects any overflow, ensuring your countertop stays clean.
Understanding Common Performance Issues
Poor performance can stem from a variety of issues, including clogged filters, mineral buildup, or even faulty pods. Symptoms such as weak coffee, a longer brewing time, or leaking can indicate specific problems that require your attention. Identifying these issues promptly prevents further damage and ensures consistent brew quality.
For instance, a weak brew often points to a clogged brew group or old pods. If water is dripping slowly or leaking, it might be caused by mineral buildup in the pump or heating element. In such cases, a thorough cleaning or descaling is imperative to remove blockages and restore functionality. Regular checks on the drip tray and water reservoir help avoid potential leaks that could lead to larger maintenance headaches later.
The Step-by-Step Cleaning Process
| Step | Description |
| 1 | Prepare your workspace and gather supplies. |
| 2 | Disassemble the machine for deep cleaning. |
| 3 | Clean the reservoir and drip tray. |
| 4 | Wipe internal and external components. |
| 5 | Reassemble the machine and run a test brew. |
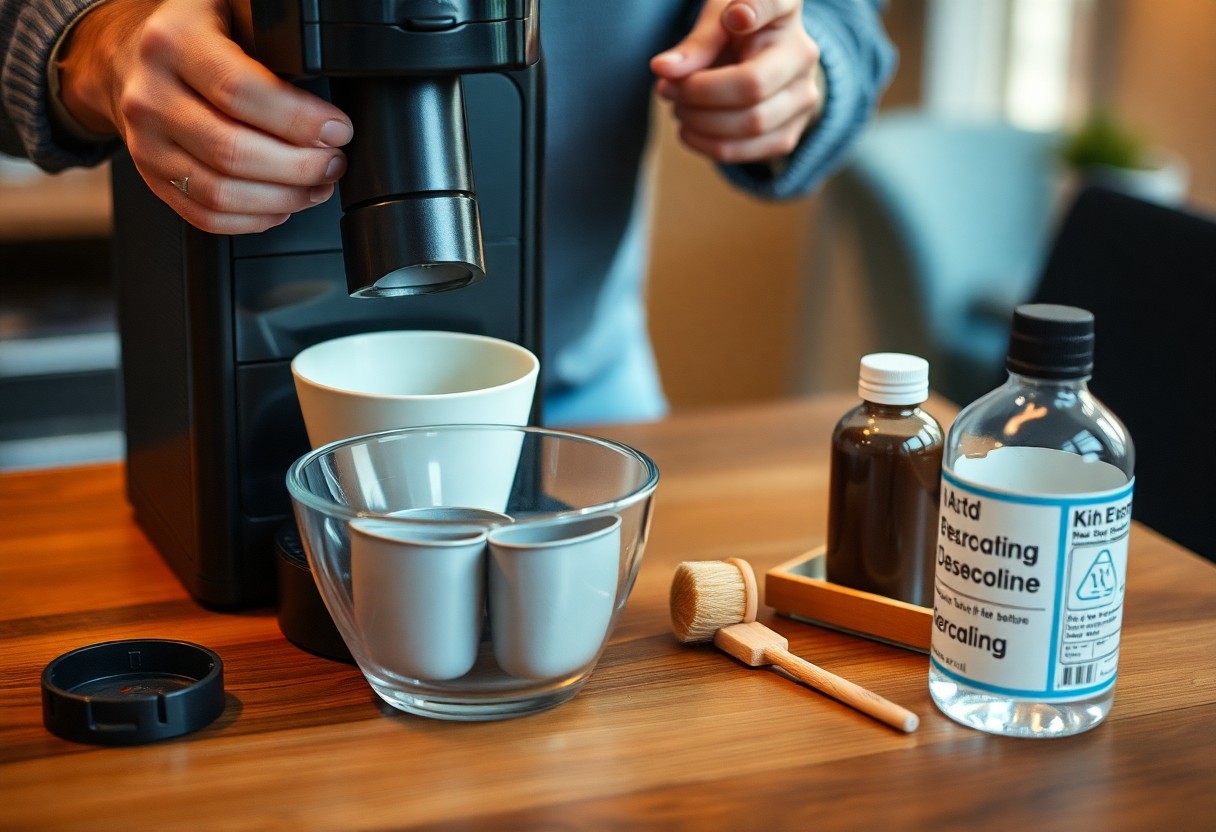
Preparing Your Workspace and Gathering Supplies
Before exploring into the cleaning process, ensure you have a clean, clutter-free workspace. Gather your supplies, which typically include warm water, a mild detergent, a soft cloth, and a sponge. Don’t forget to grab a descaling solution if it’s time for that thorough refresher. Having everything on hand allows you to conduct a comprehensive cleaning without interruptions.
Disassembling the Machine for Deep Cleaning
Carefully take apart your pod coffee machine, starting with removing the water reservoir and drip tray. Consult your manufacturer’s manual for guidance on any specific components that can be removed for an effective deep clean, ensuring you handle every part with care. This process will give you access to areas that often collect coffee oils and residue, enhancing the overall cleanliness of the machine.
Examine each removable part closely before you begin cleaning. Components such as the brew head and pod holder may also be detached for an in-depth clean. Use this opportunity to check for any blockages or buildup that could affect performance. Pay special attention to gaskets and seals; these should also be thoroughly cleaned or replaced if they show signs of wear and tear. This attention to detail will ensure your machine runs efficiently and maintains the best flavor in your coffee.
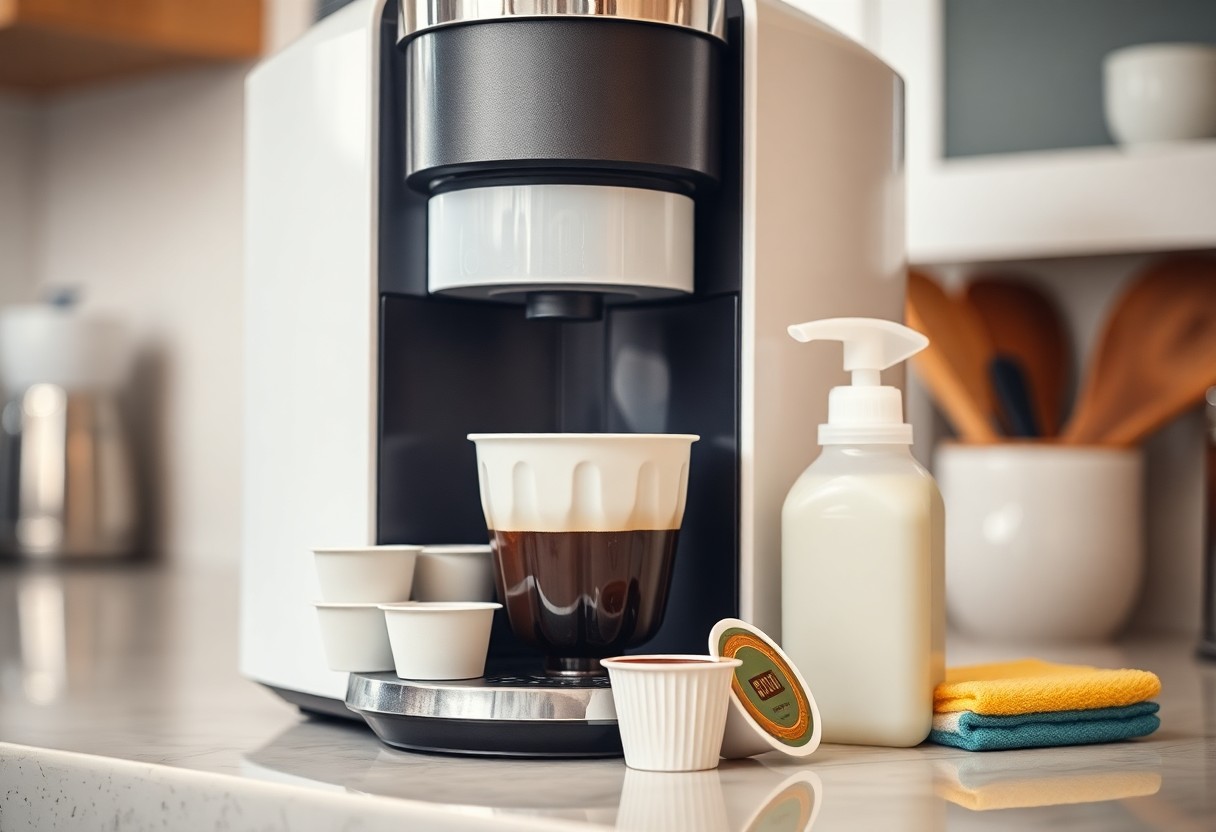
Cleaning the Reservoir and Drip Tray
The water reservoir and drip tray are often neglected areas, yet they require regular attention. Rinse the reservoir with warm water and a mild detergent, then scrub gently to remove any stubborn stains or odors. For the drip tray, make sure to clean out any accumulated coffee grounds and water to prevent mold and unpleasant smells.
After scrubbing both items, rinse thoroughly to ensure no detergent remains and is left to affect the taste of your coffee. Depending on the buildup, consider a vinegar solution for a more intense clean, but make sure to rinse well afterward. Keeping these components clean not only enhances coffee quality but will also improve the machine’s longevity by preventing potential corrosion or scaling from taking hold.
Dealing with Specific Problem Areas
Maintaining your pod coffee machine necessitates attention to certain problem areas that can affect its performance. For more information on how to clean a single serve coffee maker, you can find useful tips here. Addressing these specific issues will ensure your coffee remains flavorful and your machine operates efficiently.
Tackling Residue Buildup in the Brew Head
Residue buildup in the brew head can affect the quality of your coffee. To tackle this, remove any pod remnants and use a damp cloth to wipe down the area. For deeper cleaning, use a soft brush to gently scrub away stubborn residue, ensuring you do not damage any components.
Managing Mineral Deposits with Descaling
Descaling your pod coffee machine is vital for managing mineral deposits, which can clog the internal components over time. Regular descaling helps to remove these unwanted accumulations and prolongs the life of your device.
Using a commercial descaling solution or a mixture of vinegar and water can efficiently break down mineral deposits. Run this mixture through your machine as you would when brewing coffee, and then cycle through clean water afterward to rinse out any residue from the descaling agent. For best results, descaling should be done every 1-3 months depending on your water quality and usage frequency. This maintenance step ensures your coffee remains fresh-tasting and your machine functions smoothly.
Prolonging the Lifespan of Your Coffee Maker
To enhance the longevity of your coffee pod machine, establish a consistent cleaning routine and practice how to properly care for your coffee pod machine. Regular descaling, correct pod storage, and avoiding harsh chemicals can make a significant difference. Keeping your machine in a cool, dry area also prevents moisture buildup, ensuring optimal performance. By adopting these practices, you’ll enjoy your daily brews consistently while extending the lifespan of your beloved appliance.
Regular Maintenance Best Practices
Incorporate routine maintenance steps such as descaling every three to six months based on usage. Empty the drip tray frequently and clean the exterior of your machine with a damp cloth. Ensure that you replace water filters on schedule to maintain freshness and taste quality. Furthermore, periodically check for any wear on components like the brew head and seals, as early intervention can prevent larger issues down the line.
Signs It’s Time for a Replacement
Noticing a decline in the quality of your coffee, such as bitter flavors or weak brews, can indicate it’s time to consider a replacement. Additionally, if your machine consistently clogs or shows signs of rust, these are clear warning signs that it may be reaching the end of its life. Keeping an eye on any irregularities in operation can save you from the disappointment of a subpar cup.
Performance issues can range from leaks to electronic malfunctions and might signal a need for a new machine. If you find that repairs are becoming a regular occurrence or if your coffee maker has served you well for several years, investing in a newer model can bring enhanced features and improved brewing technology. Ultimately, a reliable cup of coffee each morning is worth the investment in quality.
Expert Tips for Optimal Brewing
To enhance your coffee experience, always ensure the water you use is filtered and fresh, as impurities can affect flavor. Adjust the temperature settings on your machine, if available, for the ideal brew temperature, usually around 195°F to 205°F. Additionally, clean the pod holder before every use to prevent residue buildup. Using fresh pods can significantly enhance the quality of your drink. The key lies in experimenting with different settings and finding what works best for you.
Choosing the Right Pods for Flavor and Quality
Investing in high-quality coffee pods can dramatically elevate your coffee experience. Look for brands that prioritize freshness and flavor, often indicated by a roast date. Specialty pods made from premium beans will offer rich and diverse flavors, allowing you to enjoy a café-quality brew at home. Additionally, consider the roast level that suits your preference, whether you enjoy a bright light roast or a bold dark roast.
Crafting a Routine to Elevate Your Coffee Experience
Your daily coffee ritual can become a meditative moment. Start with setting a consistent time for brewing to signal the beginning of your day, and use a dedicated spot in your kitchen for your coffee setup. Experiment with your brewing techniques, try different mixes of pods, and learn how to master milk frothing or alternative brewing methods. This allows you to discover your ideal flavor profile while making the process enjoyable and intentional. The result will be a deeply satisfying and personal coffee experience that becomes a cherished part of your daily life.
Conclusion
Upon reflecting on how to clean a pod coffee machine, you should prioritize regular maintenance to ensure optimal performance and taste. By following the outlined steps, from descaling to regularly cleaning the brew unit and drip tray, you can extend the lifespan of your machine. A clean pod coffee machine not only enhances the flavor of your brew but also ensures a hygienic coffee-making experience. By incorporating these practices into your routine, you’ll enjoy delicious coffee consistently while keeping your machine in top condition.
FAQ
Q: How often should I clean my pod coffee machine?
A: It is generally recommended to clean your pod coffee machine every 2-3 months, depending on usage. However, if you notice any buildup or a change in coffee flavor, it’s a good idea to clean it more frequently. Regular maintenance ensures your machine operates efficiently and your coffee tastes great.
Q: What materials do I need for cleaning my pod coffee machine?
A: To clean your pod coffee machine, you will typically need a few basic supplies: a soft cloth, a mixture of equal parts white vinegar and water, and a mild dish soap. You may also want to use a toothbrush or a soft-bristled brush to reach any small crevices. Always consult the manufacturer’s guide for specific cleaning products that might be recommended.
Q: How do I clean the water reservoir of my pod coffee machine?
A: Start by unplugging the machine and removing the water reservoir. Rinse it with warm water and use a mild dish soap to clean it thoroughly. For any stubborn spots or buildup, a soft brush can help. Make sure to rinse it well until all soap is removed, and allow it to dry completely before reattaching it to the machine.
Q: Is it necessary to descale a pod coffee machine?
A: Yes, descaling is an important part of maintaining your pod coffee machine. It helps to remove mineral deposits that can accumulate over time, especially if you use hard water. Many manufacturers recommend descaling every 3-6 months. Use a descaling solution according to the manufacturer’s instructions for optimal results.
Q: Can I wash the pod holder in the dishwasher?
A: While some pod holders may be dishwasher-safe, it’s best to consult the user manual to confirm. If it is safe, place it on the top rack of the dishwasher. If not, you can clean it by rinsing it under warm water and using a soft cloth or brush to remove any coffee residues. Cleaning by hand is often the safest option to prevent damage.