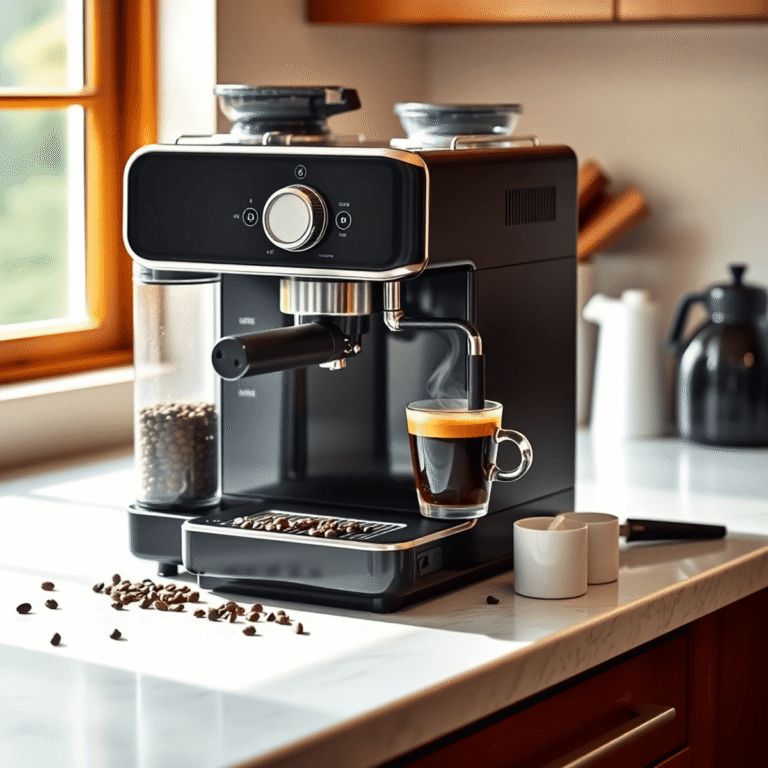
How to Clean a KitchenAid Coffee Machine – Maintenance Guide
Most coffee enthusiasts understand that a clean machine is key to a great tasting brew. Regularly maintaining your KitchenAid coffee machine not only enhances the flavor of your coffee but also extends the life of your appliance. In this guide, you’ll learn step-by-step instructions to effectively clean your machine, ensuring that every cup is as delicious as the last. From descaling to washing removable parts, these simple techniques will keep your coffee experience enjoyable and safe.

Key Takeaways:
- Regular descaling is imperative to prevent mineral buildup and maintain optimal performance. Use a vinegar solution or a descaling product according to your machine’s guidelines.
- Thoroughly clean the coffee basket, brew head, and water reservoir after each use to ensure freshness and avoid any lingering coffee oils or grounds.
- Don’t forget to wash and replace the water filter regularly if your coffee machine uses one, as this helps improve flavor and extends the life of the machine.
- Check and clean the coffee machine’s exterior and any removable parts, such as drip trays and carafes, to keep your coffee station tidy and appealing.
- Consult the manufacturer’s manual for specific cleaning recommendations and maintenance tips tailored to your particular KitchenAid model.
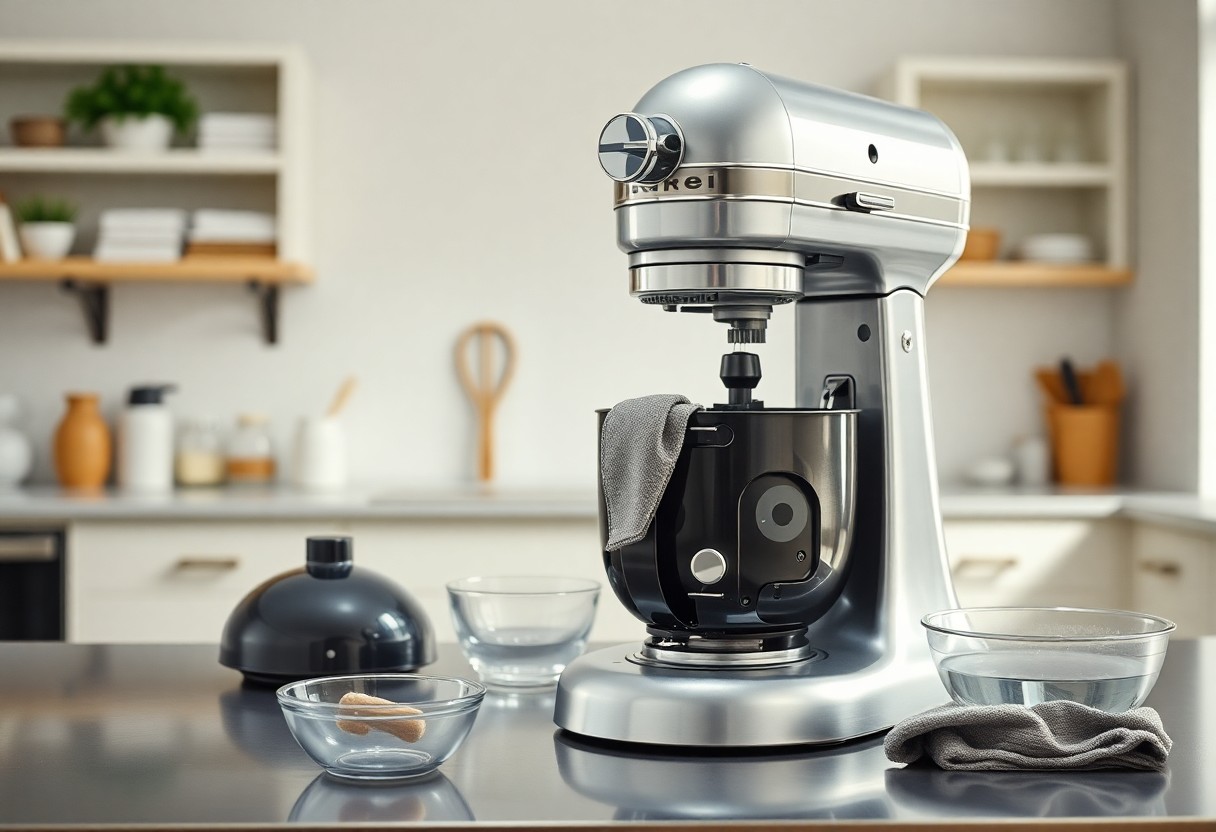
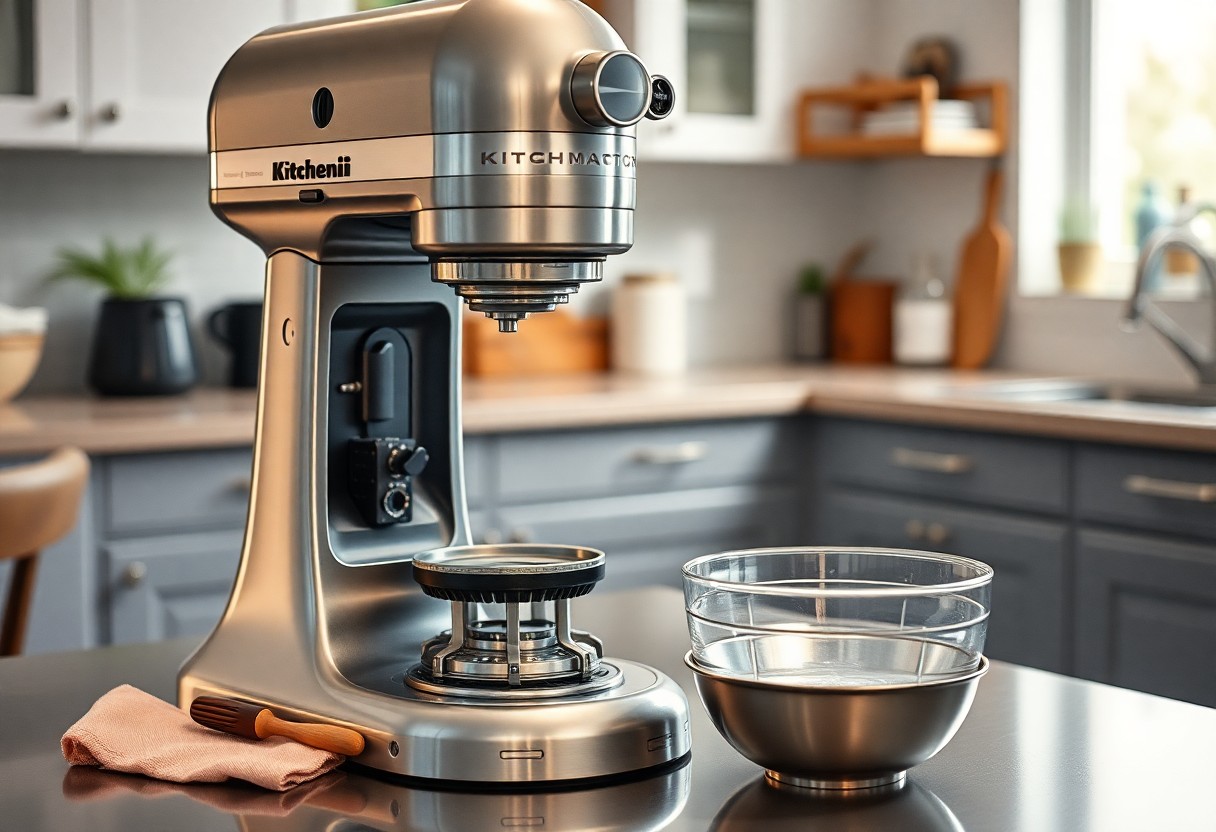
Unlocking the Components: Disassembling Your Coffee Machine
Disassembling your KitchenAid coffee machine is a straightforward task that allows you to reach commonly neglected areas for cleaning. This process ensures that every part is accessible for thorough maintenance, prolonging the lifespan of your appliance and enhancing its performance. Begin by gathering the imperative tools and then follow the precise steps to safely take apart your coffee maker without risking damage.
Essential Tools for Disassembly
Before starting the disassembly, gather a few imperative tools. You’ll need a Phillips screwdriver for removing screws, a flathead screwdriver for prying open stubborn components, and a towel or cloth to keep your workspace tidy. A small container can also help hold screws and small parts, preventing them from getting lost.
Step-by-Step Disassembly Process
The disassembly process involves a few focused steps that can be followed easily. Begin by unplugging your machine and ensuring it’s cool to the touch. Then, refer to the manufacturer’s guide to locate the screws and clips. Following the order outlined in the table below helps you systematically dismantle your machine, keeping track of each component for reassembly.
| 1. Unplug the coffee machine | Ensure that the device is turned off and disconnected from the power source. |
| 2. Remove the water reservoir | Take off the reservoir and set it aside. |
| 3. Unscrew the base | Locate and carefully remove the screws from the base of the machine. |
| 4. Disconnect internal components | Gently disconnect wires and hoses as indicated in the manual. |
| 5. Clean each component | Wipe down and clean each part as you remove it. |
Following the steps outlined above will lead you through successfully disassembling your KitchenAid coffee machine. Take care to handle wires and internal components gently to avoid any damage. Be sure to lay each part out in order of removal so that you can easily assemble them back together. This meticulous approach will ensure that your machine functions effectively and remains in great shape over time.
The Art of Cleaning: Methods That Work
Mastering the cleaning process of your KitchenAid coffee machine involves a balance of techniques and tools tailored to its needs. Through a combination of cleaning methods, both internal and external, you’ll not only improve the longevity of the machine but also enhance the freshness and flavor of your brews. Identifying the specific components that require attention ensures a complete and effective cleaning routine, allowing you to enjoy your favorite coffee every morning without any unwanted residue or build-up.
Internal Cleaning Techniques
For internal cleaning, using a descaling solution is necessary to remove mineral deposits that accumulate over time. You can prepare a vinegar-water mixture or invest in a specialized descaling product designed for coffee machines. Run this solution through your machine just as you would brew coffee, allowing it to cycle through the internal components. Rinse thoroughly with fresh water afterward to eliminate any lingering taste or smell of the cleaning solution.
External Surfaces and Maintenance
Cleaning the external surfaces of your KitchenAid coffee machine helps maintain its sleek appearance and prevents dust and grime from accumulating. Utilize a soft, damp cloth to wipe down the exterior, focusing on the control panel and any buttons that might experience frequent contact. For tougher stains, a gentle dish soap solution works wonders. Regularly cleaning these surfaces not only keeps your machine looking new but also ensures a hygienic coffee-making experience.
Additionally, take note of small areas that often get overlooked, like the drip tray and the spout. Detachable parts, such as the filter basket, should be removed and washed with warm soapy water regularly. For stubborn stains, soaking them can provide an enhanced cleaning effect. Consider doing this every month to keep your coffee machine looking pristine. Aim to keep everything squeaky clean, as a spotless exterior complements the refreshing brews you create inside.
Troubleshooting Common Issues
Encountering issues with your KitchenAid coffee machine can be frustrating, but identifying and addressing these problems can save you time and ensure you enjoy your coffee without interruption. Understanding the common performance problems can lead to swift resolutions, keeping your brew routine seamless.
Identifying Performance Problems
Unusual sounds, inconsistent brewing temperatures, and leaks often signal that your coffee machine requires attention. If your coffee tastes off or you notice decreased output, this may indicate clogs in the machine or issues with the filter. Start by noting any specific symptoms, as these clues will guide your troubleshooting efforts.
Quick Fixes to Common Malfunctions
Many common issues have straightforward solutions. For instance, if your machine leaks, ensure it’s assembled correctly and the water reservoir is seated properly. If you’re facing a slow brew process, check for any clogs in the filter or water lines, which can often be resolved by cleaning. Incorrect brewing temperatures might signal a malfunctioning heating element that may need recalibrating.
To correct a leak, first, inspect the water reservoir and all connecting parts to ensure they’re secure. Running a quick descaling cycle can resolve flow issues caused by mineral deposits. For temperature problems, recalibrate your machine according to the manufacturer’s instructions. Plus, regularly replacing the coffee filter not just enhances flavor but can also prevent slow brewing. With these quick fixes, you can ensure that your KitchenAid coffee machine continues to perform at its best, letting you enjoy that perfect cup of coffee every morning.
Special Considerations for Regular Maintenance
Regular maintenance of your KitchenAid coffee machine not only ensures a consistently excellent brew but also extends its lifespan. Over time, coffee oils and mineral deposits can build up inside the machine, affecting its performance and the taste of your coffee. By considering factors like water quality and brewing frequency, you can tailor your maintenance routine to suit your specific usage patterns and local water conditions.
Recommended Cleaning Frequency
To maintain optimal performance, aim to clean your KitchenAid coffee machine at least once a month. If you use your machine daily, bi-weekly cleanings may be more suitable to combat oils and mineral deposits. For those in hard water areas, consider more frequent descaling to prevent damaging build-up.
Best Practices for Longevity and Efficiency
Implementing several best practices can significantly enhance the longevity and efficiency of your coffee machine. Regularly replacing water filters, using soft water if possible, and promptly cleaning any spills or drip trays are all effective steps. Additionally, allowing parts to dry thoroughly before reassembling your machine helps prevent mold and mildew growth.
To maximize the life of your KitchenAid, focus on water management and cleanliness. Always use clean, filtered water to avoid mineral build-up, which can clog internal components. Regularly descaling with a vinegar-water solution or a specialized descaler helps keep your machine in peak condition. It’s also wise to store your coffee machine in a dry place and avoid exposing it to extreme temperatures. By incorporating these practices into your routine, you ensure your coffee machine serves you delicious brews for years to come.
Elevating Your Brew: Enhancements and Upgrades
Enhancing your KitchenAid coffee machine’s performance can transform your daily coffee ritual into an extraordinary experience. By incorporating strategic upgrades and understanding your machine’s specifications, you can maximize flavor and ensure your brew consistently impresses. Consider simple modifications to elevate quality while making the most of your coffee machine’s capabilities.
Choosing the Right Water Filters
Opting for the right water filters is vital for achieving optimal flavor in your coffee. Filtering out impurities significantly affects taste and aroma. Invest in a high-quality water filter designed specifically for your KitchenAid machine, as it reduces mineral buildup, ultimately prolonging the machine’s life span while enhancing the coffee’s overall quality.
Upgrades to Maximize Flavor and Performance
Investing in some key upgrades can elevate your brewing game. For instance, a programmable grinder ensures uniform coffee grounds, enhancing extraction and flavor. You might also consider a better brew basket, which can allow for fuller coffee bed extraction. Additionally, upgrading the water system to one with enhanced filtration will result in purer-tasting coffee, free of off-flavors caused by chlorine or sediments.
Upgrading your KitchenAid coffee machine isn’t solely about enhancing its aesthetics; it’s about investing in your daily coffee experience. For instance, choosing a burr grinder over a blade grinder yields consistently ground coffee, allowing for precise extraction during brewing. You may also think about specialty coffee beans that suit your palate, as they can remarkably impact flavor. Accessories such as stainless steel milk frothers also add texture and richness to your favorite beverages. All these improvements allow you to tailor your coffee-making process to your unique tastes and preferences, bringing coffee shop-quality brews to your kitchen.
Final Words
On the whole, maintaining your KitchenAid coffee machine is vital for ensuring its longevity and optimal performance. By following the steps outlined in this maintenance guide, you can keep your machine clean and functional, allowing you to enjoy delicious coffee every day. Regular cleaning not only improves the taste but also prevents buildup that could affect the machine’s efficiency. With simple care, you can take pride in serving freshly brewed coffee with every use.
FAQ
Q: What are the basic steps to clean my KitchenAid coffee machine?
A: To clean your KitchenAid coffee machine, start by unplugging the unit. Remove and clean the brew basket, carafe, and any removable parts with warm soapy water. Rinse thoroughly and let them dry completely. Next, fill the water reservoir with equal parts of water and white vinegar to descale the machine. Run a brew cycle without coffee grounds, and then run two to three more cycles with plain water to flush out any vinegar residue.
Q: How often should I clean my KitchenAid coffee machine?
A: It’s advisable to clean your KitchenAid coffee machine every month to ensure optimal performance and taste. If you use the machine daily, a more frequent cleaning schedule, such as bi-weekly, can help prevent any build-up of coffee oils and mineral deposits. Daily rinsing of the brew basket and carafe is also beneficial.
Q: Can I use regular dish soap to clean my KitchenAid coffee machine?
A: Yes, regular dish soap can be used to clean the removable parts of your KitchenAid coffee machine, such as the brew basket and carafe. However, make sure to rinse these parts thoroughly to remove any soap residue before reassembling and using the machine again.
Q: How do I remove coffee stains from the carafe and brew basket?
A: To remove coffee stains from the carafe and brew basket, create a mixture of equal parts baking soda and water to form a paste. Apply the paste to the stained areas and let it sit for about 15-20 minutes before scrubbing gently with a soft sponge or cloth. Rinse well with warm water to remove any baking soda residue.
Q: Is there a specific cleaning product recommended for descaling the KitchenAid coffee machine?
A: KitchenAid recommends using a solution of 50% white vinegar and 50% water as an effective and safe way to descale your coffee machine. If you prefer using commercial descaling solutions, check for products that are safe for coffee machines and follow the manufacturer’s instructions for use.