How to Clean and Descale a Keurig 0 Coffee Machine
The Importance of Regular Maintenance for Your Keurig
Regular maintenance of your Keurig coffee machine enhances both its performance and longevity. Over time, mineral deposits from water can accumulate, leading to reduced efficiency and potential damage. For example, a machine that isn’t descaled regularly may suffer from slower brewing times and inconsistent water temperatures, ultimately affecting your coffee’s taste. Some users report that neglecting maintenance resulted in a noticeable dip in flavor quality after only a few weeks. Investing just a few minutes each month into cleaning and descaling can ensure that you consistently enjoy your favorite brews while extending the life of your machine.
Key Takeaways:
- Regularly clean your Keurig by removing and washing the water reservoir, pod holder, and drip tray with soap and warm water.
- Descale your machine every 3 to 6 months using a descaling solution or a mixture of white vinegar and water to prevent mineral buildup.
- Run a water-only cycle after descaling to flush out the system and eliminate any residual descaling solution or vinegar taste.
- Always ensure the machine is unplugged and cooled down before starting the cleaning or descaling process for safety.
- Consult your specific Keurig model’s user manual for tailored cleaning and descaling instructions for optimal performance.
Gathering Your Cleaning Arsenal
Before venturing into the cleaning process, make sure you have everything on hand. This setup will save you time and enhance the efficiency of your cleaning session, ensuring your Keurig operates like new with every cup. Having your cleaning supplies organized will streamline the process, letting you tackle stubborn buildup and scale with ease.
Essential Tools and Ingredients
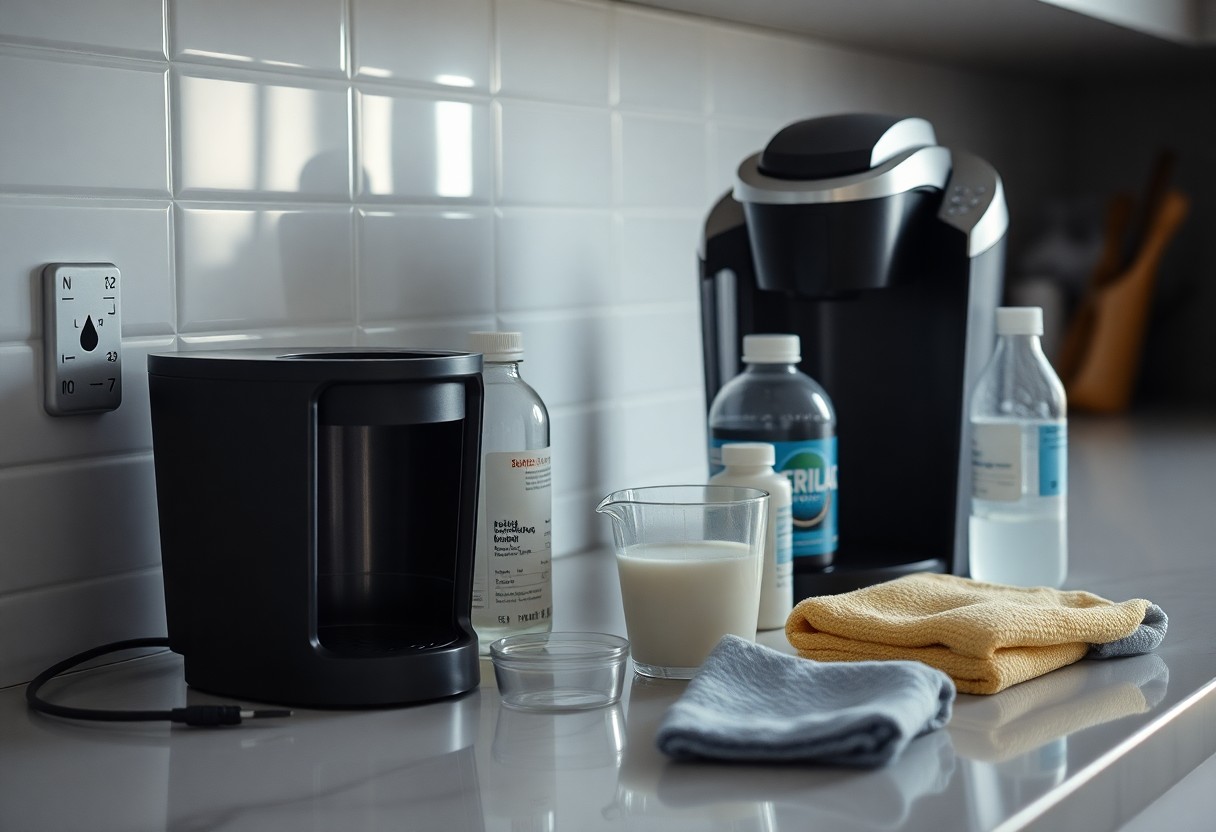
Start with the basics: distilled white vinegar, fresh water, a soft cloth, and a sponge. Vinegar is a natural descaling agent, and you’ll also need a measuring cup to keep your ratios accurate. A toothbrush can help reach tight spots, while paper towels will assist in wiping down surfaces effectively.
Optional Additions for Enhanced Cleaning
For an even deeper clean, consider adding baking soda and lemon juice to your arsenal. These ingredients can work wonders on tough stains and odors, giving your machine a thorough refresh. A dedicated descaling solution is another option, specifically designed for coffee machines and proven to dissolve mineral buildup.
Using baking soda combines well with vinegar for a powerful DIY cleaning reaction, so mixing them can help banish stains. A few tablespoons of lemon juice mixed with water can refresh both the internal components and the water reservoir, leaving a pleasant aroma. Be mindful of, commercial descaling solutions are often formulated for specific machines to ensure they’re safe and effective, making them a reliable choice for enhanced cleaning when tackling larger scale issues.

Step-by-Step Cleaning Process
Cleaning your Keurig involves several methodical steps to ensure every component functions efficiently. Follow this structured process for optimal results:
| Step | Description |
| 1 | Disassemble Your Keurig |
| 2 | Soak and Scrub Components |
| 3 | Clean the Water Reservoir |
| 4 | Run a Descaling Cycle |
| 5 | Reassemble Your Keurig |
Disassembling Your Keurig
Start by unplugging your Keurig and removing the water reservoir, drip tray, and K-cup holder. Disassembling allows you to access hard-to-reach areas that collect coffee residue and mineral deposits.
Soaking and Scrubbing Components
Once disassembled, immerse the removable parts in warm, soapy water. Use a soft sponge or cloth to scrub away lingering residue and stains. Pay close attention to corners and grooves where buildup is often hidden.
Soaking components for about 15-20 minutes makes it easier to scrub off tougher stains. A gentle, non-abrasive cleaner is ideal to avoid scratching surfaces. For stubborn stains, consider using vinegar or baking soda; both are effective at lifting grime without damaging your Keurig.
Cleaning the Water Reservoir
The water reservoir requires special attention, as it can harbor bacteria due to standing water. Wash it with hot, soapy water, and consider using a bottle brush to clean its interior thoroughly.
Make sure to rinse the water reservoir multiple times to eliminate any soap residue. Allow it to dry completely before reassembling. Using distilled water in your Keurig from now on can help prevent buildup and keep your machine cleaner longer.
Mastering the Descaling Procedure
Successfully descaling your Keurig coffee machine requires a systematic approach to ensure every aspect of the machine is effectively treated. Following a few straightforward steps will not only restore your machine’s performance but also extend its lifespan. Familiarizing yourself with the signs of limescale buildup, selecting the right descaling solution, and executing the process correctly are key components of this maintenance task.
Recognizing the Signs of Limescale Buildup
Indicators of limescale buildup include a decrease in water flow, inconsistent brewing temperatures, and odd tastes in your coffee. You might also notice a chalky residue around the water reservoir or inside the machine. These signs usually mean that calcium and mineral deposits have accumulated, making descaling necessary to maintain optimal performance.
Choosing the Right Descaling Solution
Opt for a descaling solution that is compatible with your Keurig model, typically either a commercial product or a DIY solution like white vinegar. Each option has its pros and cons; commercial products often include detailed instructions and less odor compared to vinegar, while vinegar is cost-effective and widely available.
When considering your choice, be aware of potential risks associated with certain solutions. Some commercial descalers may contain harsh chemicals that can damage internal components if not used correctly. Always refer to the manufacturer’s guidelines for recommendations on approved descalers to ensure compatibility and effectiveness with your specific model.
Executing the Descaling Process
Executing the descaling process involves several straightforward steps: fill the reservoir with your chosen solution, run a brew cycle without a pod, and repeat until the solution is depleted. Make sure to follow up with multiple fresh water cycles to eliminate any lingering descaling agent.
Begin by filling your water reservoir with the descaling solution mixed with water as specified in the instructions attached to your descaling product. After completing the initial brew cycle, let the machine sit for about 30 minutes. This step allows the solution to soak and effectively dislodge any mineral buildup. Afterward, rinse thoroughly by running two or three cycles with plain water, ensuring all traces of the descaling solution are gone. This process not only promotes optimal flavor in your coffee but also prevents future issues related to limescale buildup.
Proactive Tips for Long-Term Care
Keeping your Keurig coffee machine in top condition involves more than just occasional cleanings. Implementing these proactive care strategies can significantly prolong its lifespan and enhance your coffee experience. Make it a habit to regularly check the water reservoir for impurities and to replace the water filter as needed. Keeping the exterior and drip tray free of spills and buildup also helps maintain the machine’s functionality. Ensure that you store it in a stable environment, away from extreme temperatures. Perceiving these practices will enhance your brewing quality for years to come.
Daily Habits to Extend Machine Life
Prioritizing daily care can significantly improve your Keurig’s longevity. After each use, rinse the K-cup holder and water reservoir with warm, soapy water to eliminate any residual coffee oils or build-up. Regularly descaling the unit, even if every few uses, prevents mineral deposits from accumulating and affecting the taste of your brew. Additionally, monitor your machine for any unusual noises or operational hiccups, addressing them promptly.
Seasonal Deep Cleaning Rituals
Incorporating seasonal deep cleaning into your maintenance schedule ensures your Keurig operates at its best. This involves a thorough external and internal cleaning, including descaling and sanitizing the water reservoir. Plan these deep cleans every three to six months, depending on your coffee consumption levels and water quality.
Overall, this ritual prevents the buildup of mineral deposits and bacteria that may negatively impact flavor and performance. Begin by running a solution of half white vinegar and half water through the machine to naturally dissolve scale, followed by a water-only cycle to clear out any remaining residue. Ensure all removable parts are cleaned thoroughly, including the drip tray and K-cup holder. Implementing this practice not only maintains efficiency but also enhances your drinking experience each and every time.
Troubleshooting Common Post-Cleaning Issues
Even after thoroughly cleaning and descaling your Keurig coffee machine, you may encounter some problems. Addressing these issues promptly will ensure your coffee remains flavorful and your machine operates smoothly. Common problems include poor brew quality and irregular water flow, both of which can be mitigated with some troubleshooting techniques to get your coffee game back on track.
Addressing Poor Brew Quality
If your coffee lacks the rich flavor you expect, begin by checking the K-cup and ensuring it is properly seated. Additionally, inspect the water reservoir for any leftover cleaning solution. Running a brewing cycle with clean water can help flush any residual flavors from previous cleanings. If your machine still produces weak coffee, consider adjusting your brew size settings for a more concentrated cup.
Fixing Water Flow Problems
Water flow issues can impact both the brewing process and overall machine performance. If your Keurig is dispensing water slowly or not at all, start troubleshooting by checking the water reservoir for clogs or debris. Make sure the water level is adequate and the reservoir is securely in place. Additionally, inspect the exit needle for blockages and clean it carefully to prevent buildup that could hinder water flow.
Often, slow water flow stems from mineral deposits that might not have been fully addressed during descaling. You may need to run additional descaling cycles with a stronger solution or complete a second round of flushing with clean water. Don’t overlook the importance of checking the internal tubing for kinks or obstructions that could impede the flow. With these adjustments, your machine should regain its optimal water dispensing capabilities.
Conclusion
On the whole, cleaning and descaling your Keurig coffee machine regularly ensures optimal performance and better-tasting coffee. By following these simple steps—using a descaling solution, cleaning the water reservoir, and ensuring regular maintenance—you can extend the life of your machine and enjoy quality brews every time. Make these practices a part of your routine and elevate your coffee experience while keeping your device in excellent shape.
FAQ
Q: How often should I clean and descale my Keurig coffee machine?
A: It is recommended to clean your Keurig coffee machine every 3 to 6 months to ensure optimal performance and taste. For descaling, consider doing this every 3 months, especially if your water source is hard or contains significant mineral content.
Q: What products can I use to descale my Keurig coffee machine?
A: You can use either a commercial descaling solution specifically designed for coffee machines or a homemade mixture of 1 part white vinegar to 2 parts water. Both options effectively remove mineral buildup in the machine.
Q: How do I properly clean the exterior of my Keurig coffee machine?
A: To clean the exterior, use a soft, damp cloth. Avoid using abrasive cleaners or scrubbing pads as they may scratch the surface. Focus on areas like the drip tray and water reservoir, ensuring no coffee residue remains. Make sure to unplug the machine before cleaning.
Q: Is it safe to run bleach or harsh chemicals through my Keurig?
A: No, it is not safe to run bleach or harsh chemicals through your Keurig. These substances can damage the machine and leave harmful residues that may contaminate your coffee. Stick to recommended cleaning solutions or vinegar for safe and effective cleaning.
Q: How do I descale my Keurig coffee machine step-by-step?
A: To descale your Keurig, follow these steps: 1. Empty the water reservoir and fill it with the descaling solution or vinegar mixture. 2. Place a large mug on the drip tray. 3. Run the machine without a K-Cup by selecting the brew size, discarding the liquid afterward. 4. Repeat until the water reservoir is empty. 5. Rinse the reservoir thoroughly and fill it with clean water. 6. Run several cycles of plain water to flush out any remaining descaling solution. Your Keurig is now descaled and ready for use!
