How to Clean a Breville One-Touch Coffee Machine – Model-Specific Care
Over time, your Breville One-Touch Coffee Machine can accumulate coffee oils and residue, affecting the taste and performance of your brew. In this guide, you will learn imperative cleaning techniques tailored to your specific model, enabling you to maintain optimal functionality. By keeping your machine clean, you ensure delicious coffee and prolong its lifespan. Following these steps will help you provide model-specific care that enhances your coffee-making experience while safeguarding against any potential damage.
Key Takeaways:
- Perform a thorough rinse of the coffee brewing group and drip tray regularly to prevent buildup and maintain optimal performance.
- Descale the machine every few months using a suitable descaling solution to remove mineral deposits and ensure consistent brewing quality.
- Clean the water reservoir and filter basket with warm, soapy water periodically to avoid any lingering odors or flavors in your coffee.
- Consult the user manual for specific cleaning instructions and recommendations tailored to your Breville One-Touch model for best results.
- Utilize a soft brush or cloth to clean exterior surfaces and avoid abrasive materials that could scratch or damage the machine’s finish.
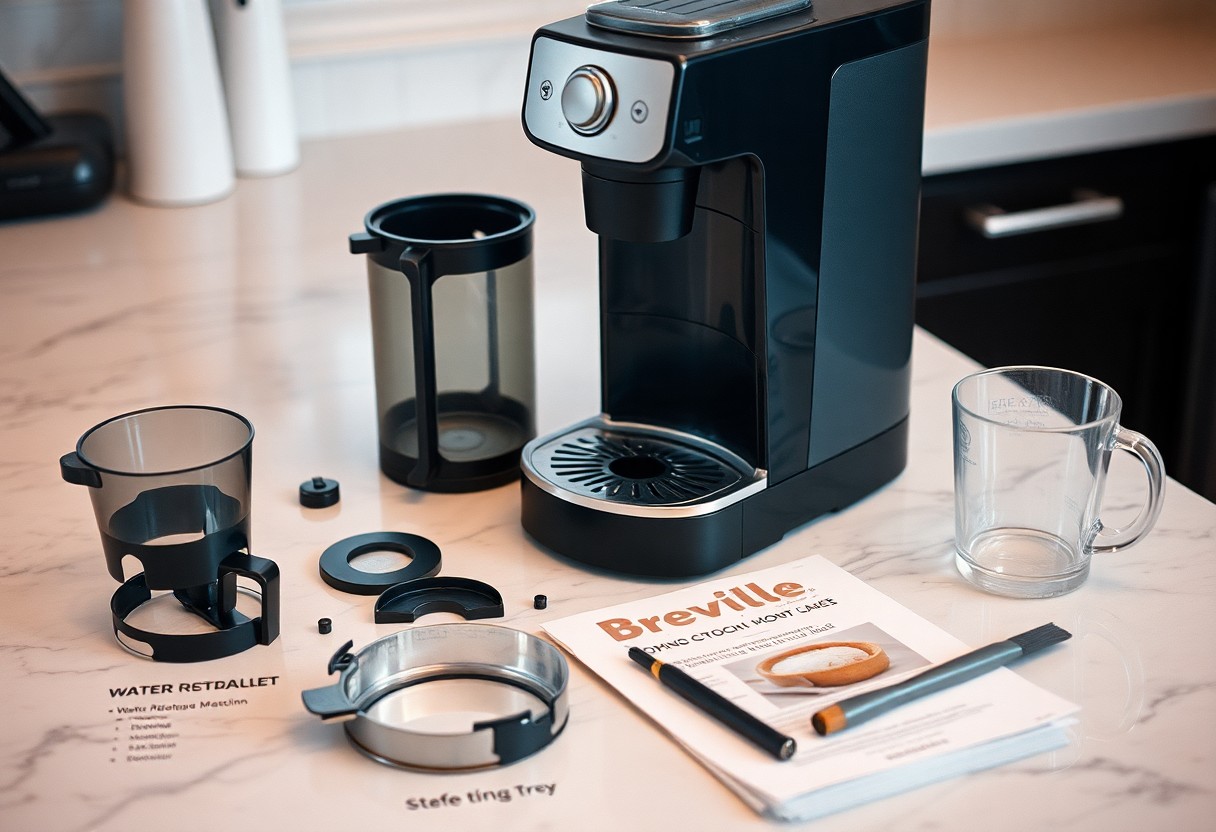
Essential Tools for Your Cleaning Arsenal
Having the right tools at your disposal makes the cleaning process of your Breville One-Touch Coffee Machine more efficient and effective. From cleaning solutions to scrubbers, equipping yourself with the necessarys allows you to tackle stubborn coffee stains and oils head-on, ensuring your machine remains in peak condition. Investing in quality products also extends the life of your machine, allowing you to enjoy excellent coffee for years to come.
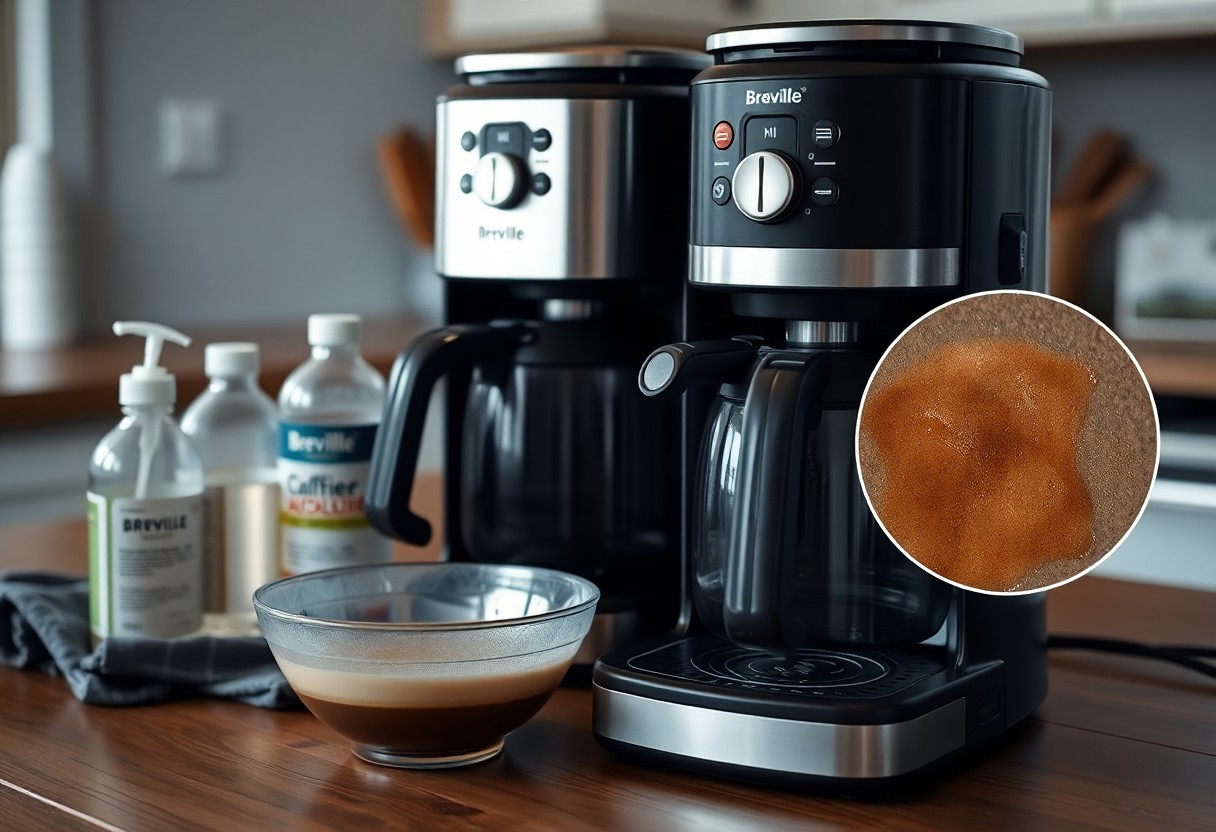
Recommended Cleaning Products
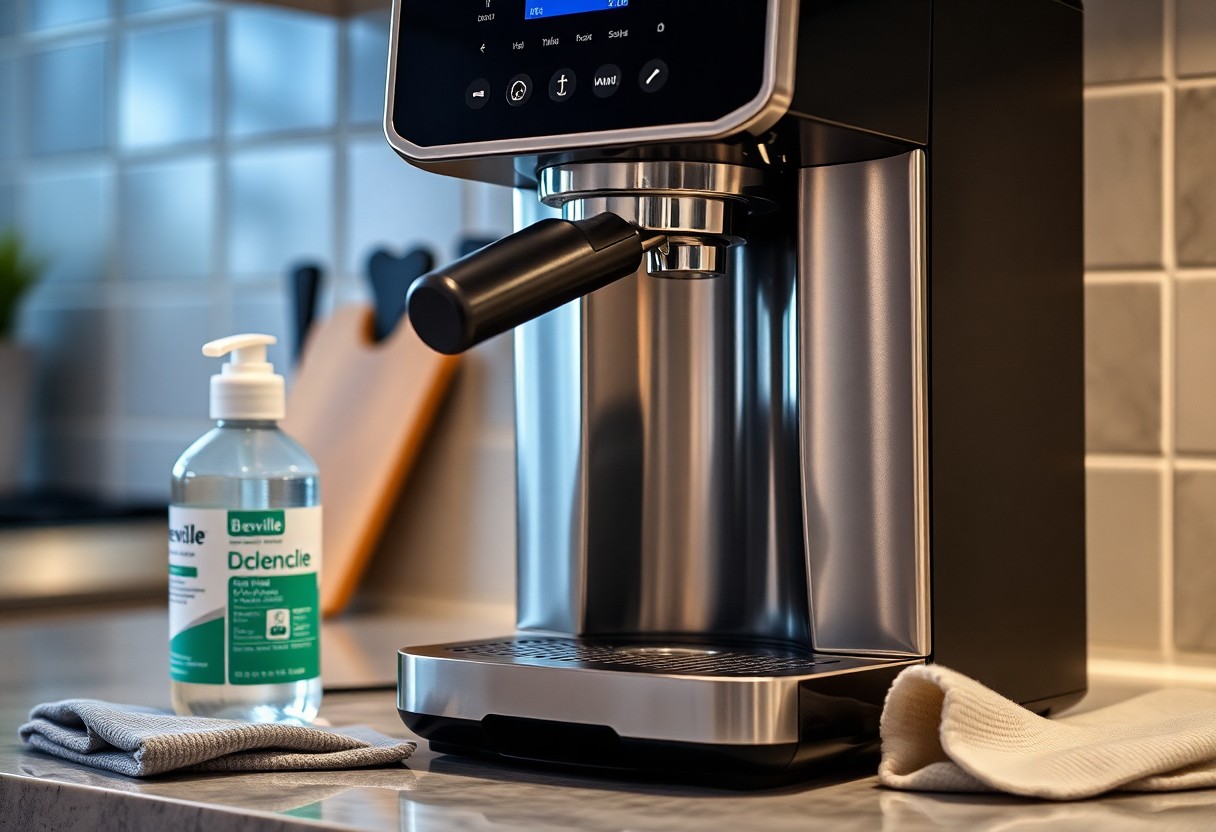
Look for a descaling solution specifically formulated for espresso machines to combat mineral buildup that can hinder performance. Additionally, an all-purpose brew group cleaner will help remove coffee oils and residues from the internal components. Avoid anything abrasive, as it can damage the finishes.
Must-Have Cleaning Tools
Prepare your cleaning station with a few necessary tools: a soft sponge, microfiber cloths, a small brush for tight spots, and a cleaning needle for unclogging the brew head. These tools will help you reach every corner, ensuring thorough cleaning without scratching or damaging surfaces.
The soft sponge is perfect for wiping down surfaces, while the microfiber cloths can effectively remove fine particles and residues without leaving scratches. A small brush is invaluable for reaching into crevices and between hard-to-reach parts, ensuring no debris remains. Finally, the cleaning needle is a lifesaver for clearing clogged coffee grounds from the group head. Having all these tools on hand will streamline the cleaning process and keep your machine functioning optimally.
Step-by-Step Cleaning Protocol
| Step | Description |
| 1 | Unplug the machine and allow it to cool. |
| 2 | Disassemble the removable parts. |
| 3 | Clean the brew head and filter basket. |
| 4 | Care for the frothing wand. |
| 5 | Wipe down the exterior components. |
| 6 | Reassemble and run a water cycle. |
Disassembling the Machine for Thorough Access
Start by ensuring the machine is unplugged and has cooled down completely. Remove the water tank, drip tray, and any other detachable components. This allows you to reach all parts that require cleaning without obstruction. Take care to consult your manual for specifics on removing parts without causing damage.
Cleaning the Brew Head and Filter Basket
To keep your coffee tasting fresh, regularly clean the brew head and filter basket. Use a damp cloth to wipe the brew head, ensuring any coffee residue is removed. For the filter basket, soak it in warm, soapy water for a few minutes, then scrub gently with a soft brush to eliminate stubborn coffee oils.
When cleaning the brew head, focus on any visible buildup around the spouts, as this can affect your coffee’s flavor. After soaking the filter basket, rinse it thoroughly to eliminate any soap residue, which could also affect taste. For best results, perform this cleaning after every few uses to maintain optimal coffee quality.
Care for the Frothing Wand
The frothing wand requires special attention to maintain its performance. Start by purging it to clear any milk residue after every use. For deeper cleaning, detach the wand from the machine and soak it in warm, soapy water. Use a soft brush to remove any stubborn milk deposits and rinse thoroughly.
Neglecting the frothing wand can lead to blockages and affect your ability to create frothed milk. Always ensure it’s cleaned immediately after use to prevent milk from drying and sticking, which makes future cleaning more difficult. Incorporating this practice will extend the life of the wand and enhance your coffee-making experience.
Preventative Maintenance Techniques
Establishing a routine of preventative maintenance can extend the lifespan of your Breville One-Touch Coffee Machine and ensure optimal performance. Regularly descaling the machine using a suitable solution and keeping all components clean will help prevent buildup and potential malfunctions. Engaging with communities such as Breville espresso how to clean – tablet or/and … can provide additional tips and insights from other users too.
Daily Cleansing Routines to Adopt
After each use, rinse the portafilter and filter basket, ensuring no coffee residue is left behind. This daily practice helps prevent oils from building up and enhances the flavor of your brews. Wipe down the exterior with a soft cloth to keep your coffee machine looking pristine.
Monthly Deep-Cleaning Checklist
Once a month, conduct a thorough deep clean of your Breville One-Touch Coffee Machine. This includes running a descaling solution through the machine, cleaning the water reservoir, and checking hoses for any blockages. Ensure you also backflush the group head to maintain consistent espresso quality.
During your monthly deep-cleaning session, inspect all parts for wear and tear. Replace any necessary components such as the water filter and shower screen if you notice any signs of degradation. Take the time to clean out the drip tray and drip grid, ensuring that there are no leftover coffee grounds or buildup. Following these steps will safeguard your machine’s performance and maintain the rich, smooth espresso flavor you love.
Common Challenges and Their Solutions
Even the most dedicated coffee lovers may encounter challenges while maintaining their Breville One-Touch Coffee Machine. Two common issues are coffee residue buildup and frothing problems, both of which can impact your brewing experience. Fortunately, effective solutions can help you tackle these obstacles and restore your machine’s optimal performance.
Addressing Coffee Residue Buildup
Over time, coffee residue can accumulate in various areas of your machine, affecting taste and functionality. Regularly disassembling the brew head and soaking parts in a vinegar solution can effectively dissolve any stubborn remnants. You should also consider using a specialized coffee cleaner for a more thorough clean.
Resolving Frothing Issues
If your frothing wand isn’t creating the perfect microfoam, the nozzle may be clogged or your milk may not be fresh enough. Cleaning the wand immediately after each use helps prevent milk residue from hardening and blocking the flow. Additionally, always use cold, fresh milk for optimal frothing results. If you notice persistent issues, ensure that your machine is calibrated correctly, as temperature fluctuations can also affect the frothing performance.
Long-Term Care for Longevity
Keeping your Breville One-Touch Coffee Machine in tip-top shape over time ensures that you continue to enjoy delicious coffee without interruption. Regular maintenance goes beyond simple cleaning; attention to storage and usage habits will significantly enhance your machine’s lifespan. By following practical steps, you can prevent premature wear and keep your coffee experience enjoyable for years to come.
Tips for Extending the Machine’s Lifespan
- Avoid prolonged exposure to moisture to prevent electrical damage.
- Clean your machine’s components regularly, including the brew basket and water reservoir.
- Use filtered water to reduce mineral buildup in the heating element.
- Store the machine in a cool, dry environment away from direct sunlight.
Any time you notice unfamiliar noises or inconsistent brewing results, it signals that your machine might need some attention.
Recognizing When to Seek Professional Help
While regular maintenance and care can keep your Breville One-Touch Coffee Machine running smoothly, signs of malfunction should never be ignored. If your coffee machine starts displaying error codes, leaks water, or fails to reach the desired temperature, it’s time to consult a professional. Attempting DIY fixes for complex issues can often worsen the problem, leading to more significant repairs. Seeking assistance from certified technicians ensures that your machine gets the expert care it needs.
When recognizing the need for professional help, you should also be aware of the warranty terms for your model. Breville offers warranties that might cover certain repairs, making it beneficial to consult user manuals for detailed support options. Additionally, if you experience persistent issues despite regular maintenance, prompt action can prevent further damage and extend the lifespan of your beloved coffee maker.
To wrap up
Upon reflecting, maintaining your Breville One-Touch Coffee Machine is crucial for optimal performance and great tasting coffee. By routinely following the model-specific care instructions, including descaling and cleaning the various components, you ensure a longer lifespan for your machine and consistently delicious brews. Take the time to familiarize yourself with the user manual for tailored guidance, and don’t hesitate to reach out for support if needed. A well-cared-for coffee machine will reward you with a satisfying coffee experience day after day.
FAQ
Q: How often should I clean my Breville One-Touch Coffee Machine?
A: It is recommended to clean your Breville One-Touch Coffee Machine after every use to maintain optimal performance and taste. Additionally, a deep cleaning should be performed every few months, depending on usage frequency. Regular maintenance includes descaling every three months or when the machine alerts you that it requires descaling.
Q: What are the steps to perform a deep clean on my Breville One-Touch Coffee Machine?
A: To deep clean your machine, first, unplug it and allow it to cool. Remove and clean the water tank, drip tray, and coffee grounds container with warm soapy water. Next, use a damp cloth to wipe the exterior. For descaling, prepare a descaling solution of your choice, fill the water tank, and run the descaling cycle as per the manufacturer’s instructions. Rinse thoroughly afterward by running fresh water through the machine.
Q: Can I use vinegar to clean my Breville One-Touch Coffee Machine?
A: While some users opt to use vinegar as a natural cleaning solution, it is advised to use a descaling solution specifically designed for coffee machines. Vinegar can lead to a residual taste and may not be effective at removing certain mineral build-ups like descalers. Always check your user manual for recommended cleaning solutions.
Q: How do I clean the milk frother on my Breville One-Touch Coffee Machine?
A: Cleaning the milk frother is an important part of maintaining your machine. After each use, purge the steam wand by turning it on for a few seconds. Then, detach and rinse the frother head with warm water. Occasionally, use a small brush to clean any milk residue that may accumulate. For a deeper clean, it is recommended to soak the parts in warm, soapy water before rinsing thoroughly.
Q: Is it necessary to replace the water filter in my Breville One-Touch Coffee Machine?
A: Yes, replacing the water filter is necessary for maintaining the quality of your coffee and the longevity of the machine. The filter generally needs to be replaced every 2 months or after brewing 40 liters of coffee, whichever comes first. It’s important to consult your user manual for specific replacement guidelines and to ensure optimal performance.