How to Make Coffee with a Breville Espresso Machine – Brewing Guide
This guide will equip you with everything you need to brew the perfect cup of coffee using your Breville Espresso Machine. You’ll learn step-by-step techniques to achieve rich flavors and optimal extraction, ensuring that each cup delights your senses. From grinding your beans to steaming milk, every detail matters in creating that barista-quality espresso right at home. Let’s examine the necessary tips and tricks that will elevate your coffee game and help you get the most out of your machine!
Key Takeaways:
- Ensure the coffee beans are freshly ground for optimal flavor and consistency.
- Preheat the machine and the portafilter to enhance the brewing process.
- Measure the coffee dose accurately, typically around 18-20 grams for a double shot.
- Utilize the correct brewing temperature and pressure for the best extraction outcome.
- Practice proper techniques for tamping and milk frothing to elevate your beverage quality.
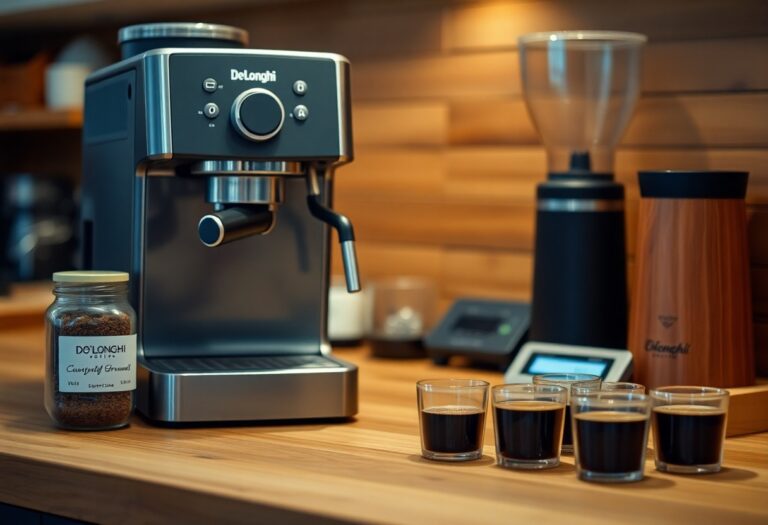
Choosing the Right Coffee Beans
Selecting the perfect coffee beans is a foundational step in your espresso journey. Freshness, variety, and quality can significantly affect the final brew. Aim for beans labeled as specialty or single-origin, and always check the roast date. Your choice of beans lays the groundwork for rich flavors, balanced acidity, and satisfying aromas, elevating your espresso from ordinary to extraordinary.
The Impact of Bean Origin
Roast Profiles and Their Flavor Profiles
Roast profiles define the taste and aroma of your coffee beans, categorizing them into light, medium, and dark roasts. Light roasts retain more of their origin flavors, often revealing bright, acidic notes. Medium roasts balance the natural flavors with a slightly richer body and sweetness. In contrast, dark roasts bring out bold, smoky flavors with less acidity but a heavier mouthfeel. Understanding these profiles enables you to select beans that align with your desired espresso characteristics, enhancing your brewing experience.

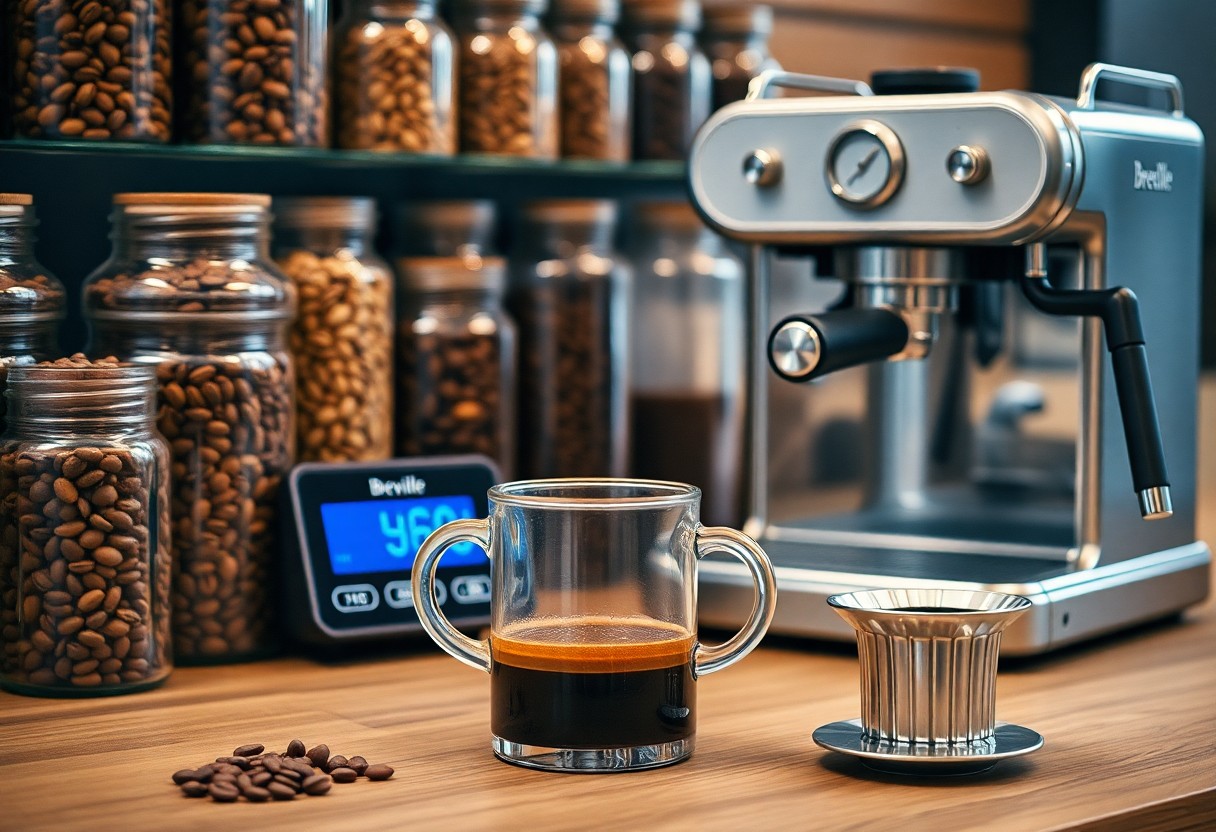
Mastering the Grind Size
Grind size plays a vital role in extracting the rich flavors of your espresso. The general rule of thumb is that a fine grind allows for a quicker extraction, while a coarser grind leads to a weaker flavor. For espresso, aim for a consistency similar to table salt. Keeping your grind size consistent ensures that each shot delivers that perfect robust flavor profile you’re after.
Finding the Sweet Spot for Espresso
Identifying the sweet spot for your grind size involves experimentation. Start by adjusting your grind to find a balance that extracts flavors within a 25-30 second timeframe. A grind that’s too fine will cause over-extraction, leading to bitterness, while one that’s too coarse results in a sour taste. Your goal is to achieve a harmonious blend of flavors in every cup.
Common Grinding Mistakes to Avoid
Avoiding common grinding mistakes can significantly enhance your espresso. One major pitfall is inconsistent grind size, which can lead to uneven extraction and undesirable flavors. Another issue is not calibrating your grinder for the specific beans you’re using; different coffee varieties may require adjustments. Lastly, overlooking the freshness of your coffee grounds can compromise the quality of your brew.
Inconsistent grind size often arises from using dull blades or improper settings on your grinder, leading to a mix of fine and coarse particles. This inconsistency disrupts the extraction process, making it challenging to achieve the rich crema you desire. Additionally, failing to calibrate for specific coffee beans overlooks the fact that light-roasted beans may need a finer grind compared to dark-roasted ones. Lastly, using old or stale coffee grounds can rob your espresso of its vibrant flavors, making it tasteless and flat. Upgrading to freshly ground coffee and meticulously adjusting your grinder settings can dramatically improve your espresso game.
The Art of Tamping
Tamping is an important step in the espresso brewing process, shaping the coffee grounds into a compact bed that ensures even extraction during brewing. Achieving the right pressure and technique during tamping influences the flow rate of water through the coffee puck, which ultimately affects the taste and quality of your espresso. All it takes is a firm hand and a bit of consistency to elevate your shots, so embrace this art as part of your espresso ritual.
Techniques for Even Distribution
Before you tamp, ensure that the coffee grounds are evenly distributed in the portafilter. You can use your finger or a distribution tool to gently swirl the grounds, promoting uniformity. Tapping the sides of the portafilter also helps to settle the coffee, leading to a more consistent tamp. Achieving an even distribution minimizes channeling, making sure that water flows evenly through the grounds, and results in a balanced extraction.
The Importance of Pressure
The pressure you apply while tamping directly impacts the density of the coffee puck, which influences extraction time and flavor. Aim for a consistent pressure of about 30 pounds when tamping down. Too little pressure can result in a weak shot, while excessive force may lead to over-extraction and bitterness. Finding that sweet spot is key to bringing out the espresso’s full flavor potential.
When utilizing the right pressure, the extraction begins in a controlled manner, creating a beautifully layered shot of espresso. Water will flow evenly through the coffee puck, avoiding any concentrated areas where it might rush through and extract only undesirable flavors. A well-tamped coffee puck allows for an optimal flow, leading to that coveted rich crema and nuanced flavor profile. Many expert baristas recommend practicing your tamping to develop a consistent feel for the correct pressure—over time, you’ll get a clear sense of how to achieve the perfect shot.
Navigating the Espresso Machine Settings
Understanding your Breville espresso machine’s settings is key to achieving the perfect shot. Each model may vary slightly in features, but most will have adjustable parameters to help you tailor your brew. Getting comfortable with these settings allows you to experiment with variables like brew temperature, pressure, and extraction time, enabling you to create a cup that embodies your personal taste preferences. Mastering these controls can elevate your espresso game and lead to exceptional flavor experiences with every brew.
Understanding Brew Temperature and Timing
Temperature and timing are vital components in espresso extraction. Here’s how they can impact your brew:
Effects of Brew Temperature and Timing
| Factor | Impact on Flavor |
|---|---|
| Temperature too low | Under-extraction, sour taste, weak body |
| Temperature too high | Over-extraction, bitter taste, burnt flavors |
| Timing too short | Incomplete extraction, lacking depth |
| Timing too long | Over-extraction, ashy taste |
Customizing Your Shot for Optimal Flavor
Fine-tuning your espresso shot isn’t just about the basics; it’s an opportunity to enhance the flavor profile. Consider adjusting shot volume, grind size, and tamp pressure. For instance, if you prefer a richer, full-bodied shot, you can slightly decrease water volume while experimenting with a finer grind to increase extraction. Conversely, if you enjoy a more delicate cup, increase the water volume and opt for a coarser grind. Small adjustments can lead to significant flavor variations, allowing you to discover your perfect espresso balance.
Each variable you tweak influences the extraction process. For example, aiming for a 25 to 30-second extraction time generally yields the best results, but don’t hesitate to explore outside this range. Monitoring these variables while taking notes will help you pinpoint what flavors resonate with your palate. By consistently customizing your brewing parameters, you cultivate an understanding that transforms your daily coffee ritual into an artistry.
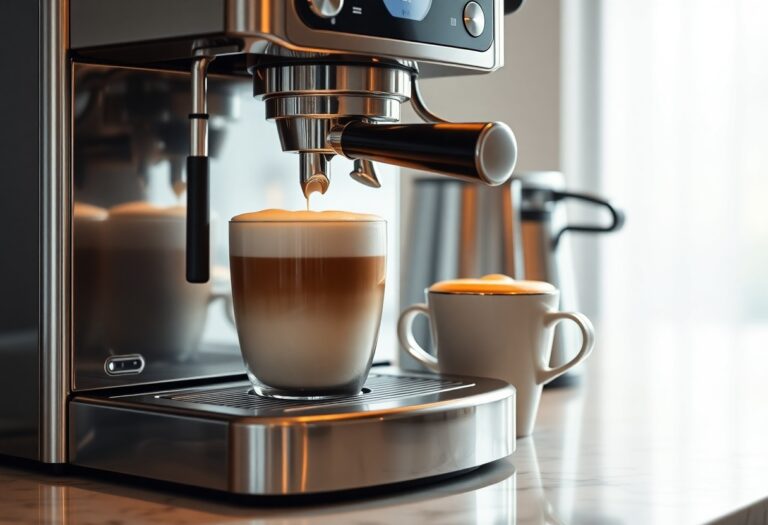
Perfecting Your Milk Frothing Skills
Mastering milk frothing takes practice and technique, allowing you to enhance your espresso drinks with rich, velvety microfoam. Begin by choosing the right pitcher and setting your Breville espresso machine to the ideal temperature. Immerse the steam wand just below the surface of the milk and apply steam pressure to create a whirlpool effect. For detailed guidance, check out the Breville Barista Express Guide: Perfect Espresso Every Time to refine your frothing skills.
Types of Milk and Their Best Uses
| Milk Type | Best Use |
| Whole Milk | Rich, creamy espresso drinks. |
| Skim Milk | Lighter, foamier textures. |
| Almond Milk | Nuts and notes in lattes. |
| Oat Milk | Sweet flavor, good for coffee. |
| Coconut Milk | Exotic taste in beverages. |
Recognizing the qualities of different milk types is crucial for crafting the perfect espresso beverage. Whole milk creates a luscious, creamy foam, while skim milk provides a lighter texture. Non-dairy alternatives like almond and oat milk offer unique flavors and textures that can complement your coffee.
Techniques for Texturing Milk
Texturing milk involves both temperature control and the proper steaming technique to achieve that creamy microfoam crucial for latte art. Start with cold milk, using a thermometer to aim for 150°F (65°C), as overheating can lead to a burnt taste. Position the steam wand at an angle to create a whirlpool effect, allowing the milk to aerate while maintaining a creamy texture. As you practice, pay attention to the sound of the milk and adjust your technique for a smoother finish.
To create beautifully textured milk, ensure you have the right setup with your Breville espresso machine. Begin by pouring the appropriate amount of milk into a stainless-steel pitcher, usually around one-third full. Insert the steam wand just below the surface, applying steam to introduce air until you see the milk swell. After achieving volume, submerge the wand deeper into the milk and heat it to your desired temperature. This technique not only creates a lovely foam but also melds the flavors together harmoniously, resulting in a delightful espresso experience.
Final Words
With these considerations in mind, you are now equipped to master your Breville espresso machine. By understanding the importance of grind size, tamping pressure, and brewing time, you can create the perfect cup tailored to your taste preferences. Experiment with different beans and techniques to discover what works best for you. Enjoy the process, and soon you’ll be impressing friends and family with barista-quality espresso right in your own home.
FAQ
Q: What type of coffee beans should I use for my Breville espresso machine?
A: For the best results, use freshly roasted coffee beans that are specifically labeled for espresso. Ideally, choose a medium to dark roast with a grind size appropriate for espresso, which is usually fine. Experimenting with single-origin beans or blends can also help you find your preferred flavor profile.
Q: How do I grind the coffee beans for my espresso?
A: The grind size for espresso is vital for achieving the right extraction. Use a burr grinder to obtain a consistent fine grind, similar to table salt. Start with a coffee-to-water ratio of about 1:2, meaning for every 1 gram of coffee, use about 2 grams of water. Adjust the grind size finer or coarser based on the resulting shot time and taste.
Q: What is the proper water temperature for brewing espresso?
A: The optimal water temperature for brewing espresso is between 190°F and 205°F (about 88°C to 96°C). Most Breville espresso machines have a built-in temperature control system, but if you’re using an external kettle, allow it to cool for about 30 seconds after boiling to reach the desired temperature range.
Q: How much coffee should I use for a single and double shot?
A: For a single shot of espresso, typically use 7-9 grams of coffee, while a double shot generally requires 14-18 grams. Make sure to distribute the grounds evenly in the portafilter and tamp them down with consistent pressure to ensure an even extraction.
Q: How do I clean my Breville espresso machine after use?
A: Regular cleaning of your Breville espresso machine is vital for maintaining its performance and taste quality. Start by rinsing the portafilter and basket, removing any spent coffee grounds. Run a water cycle through the machine without coffee to clean the group head. For routine maintenance, refer to the manufacturer’s guidelines for deep cleaning and descaling every few weeks.